Porsche 911 Targa 4S

New Car Protection

I was contacted by this client during the first few months of the year regarding maintaining his recent acquisition. After having just traded in his last 911 he wanted to maintain this one in the best possible way. I arranged an intial consultation to see the car and during the initial consultation it was agreed that as Porsche had managed to con the client into having their £600 swissvax protection I would maintain the car all the while the wax was holding up. I informed the client he will see about three months from the wax and bang on I was, by April the Wax was nearing the end of its life so the car was booked in and arrived on site in early June. 

Despite being safely maintained unfortunately a fair amount of light swirls were inflicted by the dealer during their prep stages, the client even pointed this out to me during the initial inspection when I first saw the car. So first port of call was the decontamination and wash stages. The car was still very clean despite being nearly five months old by this point as the car had been maintained by me I kept on top of the door shuts, arches etc so the initial decontamination stages didn't take much and it wasn't long before the car was rolled inside, jacked up and wheels removed. In the first five months of ownership the client had managed to kerb two of the wheels on his wax into a car park so the wheels were sent off to my wheel guy for full refurbishment to be returned before collection.  

Onto the paintwork assessment, sporting the odd deep scratch courtesy of his Children and a certain basketball and light swirling inflicted by the dealer the  Jet black metallic received a single stage machine polish safely removing 100% of the light defects present. Approximately a day and half were spent completing the machine polishing before moving onto the two wheels that remained as unfortunately the incredibly soft gloss black had marred and required some attention. 

Once the polishing stages were complete final wipe down and inspection took place to ensure complete defect removal before proceeding to the coating stages. As standard with my New Car Protection detail a two stage Ceramic coating system was applied along with the glass and wheels being Ceramic coated. With lots of fiddly details to contend with on these Targas I took another day and a half coating all exterior surfaces including the fabric convertible roof ensuring this Porsche has years of protection against the elements. 

With all the plastics treated and protected, coatings applied, exhausts polished and tyres dresses I moved onto the interior. Seeing daily use this Targa 4S interior has a hard life so good protection was key from the start. Once deep cleaned the leather bolsters and dash were protected with leather guard and the alcantara centres protected with a fabric guard. 

All in all this was an extremely enjoyable Detail bringing a car up to scratch that I've been looking after for several months now. To see it in the condition it should have been from the start was great and the owner was speechless on collection. Job satisfaction! 

DFE98010-2E05-4B6D-94FA-E49DCD9474DC.JPG
351EE078-EEC3-4833-BE12-B2F88C645950.JPG
E8FCCE78-668B-4C83-B680-D7AF3502DAAD.JPG
A913238C-CC42-4D13-BFD4-7A297CD2470A.JPG
C8315867-6C93-4DA3-9642-F8C39ACF0004.JPG
EBBD0AC5-9F62-4203-85DE-353504DFBC9B.JPG
5F97F4F2-8BD1-4326-ABE2-7A87BDC2C8E6.JPG
CC0D0135-B4D1-449D-AB69-AB518127F61D.JPG
CFA167FA-E223-4F3E-BCC7-1B8F61E0C007.JPG
0C979006-757F-41A3-8377-2CCC776894C2.JPG
67788A72-86C9-41B7-AC18-1B406254E6F0.JPG
F820A28A-DAD5-4C46-8241-F7747CFCC426.JPG
A1F9A3F8-C3DC-43F2-95C4-164EAC264A42.JPG
16DACC70-C8B1-466A-B02D-04133CFA0CAF.JPG
B981AFD0-7FCB-4AE8-93B0-72016C80FBD8.JPG
353E43C4-CDE4-4406-9236-2B1300C4CAC7.JPG
ED9828FB-B80D-454C-9FA1-BABCA32B4487.JPG
DE3A6FC0-4BD5-45CC-9462-87FB26FA486A.JPG
F4709EAA-D7B6-4227-8381-74C1015A25E5.JPG
1C7DDBEA-2F0C-4761-8779-11B5FA9818F8.JPG
B2458FD8-1D12-40EE-A27B-C89A14280A64.JPG
2B180353-F0E2-4D63-AA00-5A1ECCD54021.JPG
E20EA4FF-4D4D-449E-BFFC-65045B51FFEB.JPG
79711FE5-FDA4-45EE-BC42-A9655A8A2E52.JPG
2BC7CF69-E346-4673-A565-D0676535C7E3.JPG
ABFF3435-F5CC-4AD4-8008-9D57F457BB29.JPG
5BB557B8-EBE0-4C59-8BB4-790462F4001A.JPG
13ADDC25-D3B5-4EA4-97D4-203935FBB594.JPG
5817A3D8-3D7A-472D-85D7-DD08AE373F03.JPG

Aston Martin Vantage

Single Stage Correction Detail

I was contacted by this client with a view to preparing and protecting his Vantage before the Mod Ball Rally. He was concerned about the car picking up lots of stone chips and the hardship the bodywork may face covering all those miles. After some discussion it was agreed the car would receive my Single Stage Correction Detail with front end PPF and coatings  

This Detail was completed onsite where the PPF was fitted as it was easier for the client. The intial decontamination stages were completed outside including full clay bar and TFR application to strip all bonded contaminants prior to commencing any machine polishing. 

The car was then moved inside ready for paintwork inspection, depth readings and taping up to protect plastics and rubbers from polishing oils. Grey is always a very forgiving colour however on some occasions it requires greater focus as you have to look harder for the deeper defects. Working my way around the car Real Deep scratches were improved while marring and swirls where completely removed to reveal the metallic flake and restore a sharp gloss  

Once the polishing was complete and following a full IPA wipe down I moved onto coatings. Opting for my total surface protection package this car received application of coatings to paint glass and wheels avoiding the front end as PPF was to be installed. While the PPF was installed I dealt with the interior, engine bay and all of the final touches before leaving the car for a day for the PPF to be completed. As the paint protection film applied was self healing no coatings could be applied to the film so a layer of swissvax best of show was applied to the film which will be topped up bi-annually.

Please scroll down for the full photos. 

IMG_4697.JPG
IMG_4699.JPG
IMG_4700.JPG
IMG_2967.PNG
IMG_4698.JPG
IMG_2972.PNG
IMG_2970.PNG
IMG_2979.JPG
IMG_2928.JPG
IMG_2929.JPG
IMG_2930.JPG

Jaguar XF-RS

Multi Stage Correction

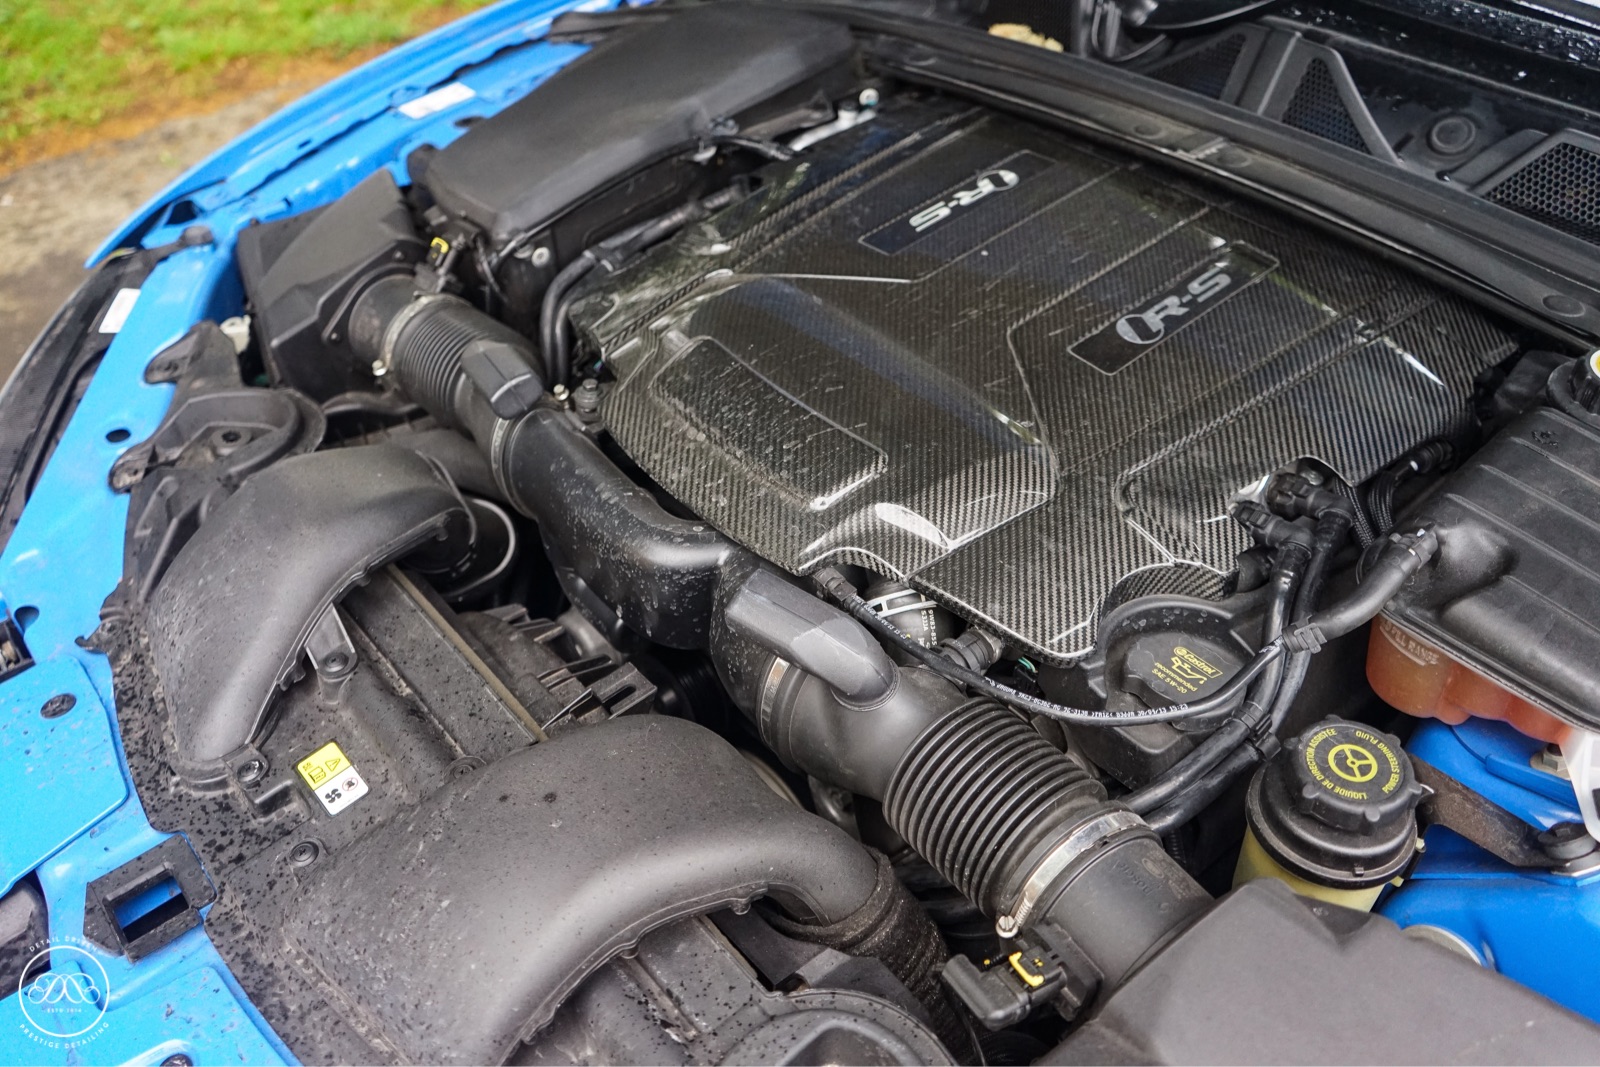
When the enquiry came through for a Single Stage machine polish on a 911 the last thing I expected to arrive was a French Racing Blue Jaguar XF-RS. In the short time between arranging the initial inspection and bringing the car to see me the client had sold the Porsche and replaced it for this rather shouty V8 Powerhouse.

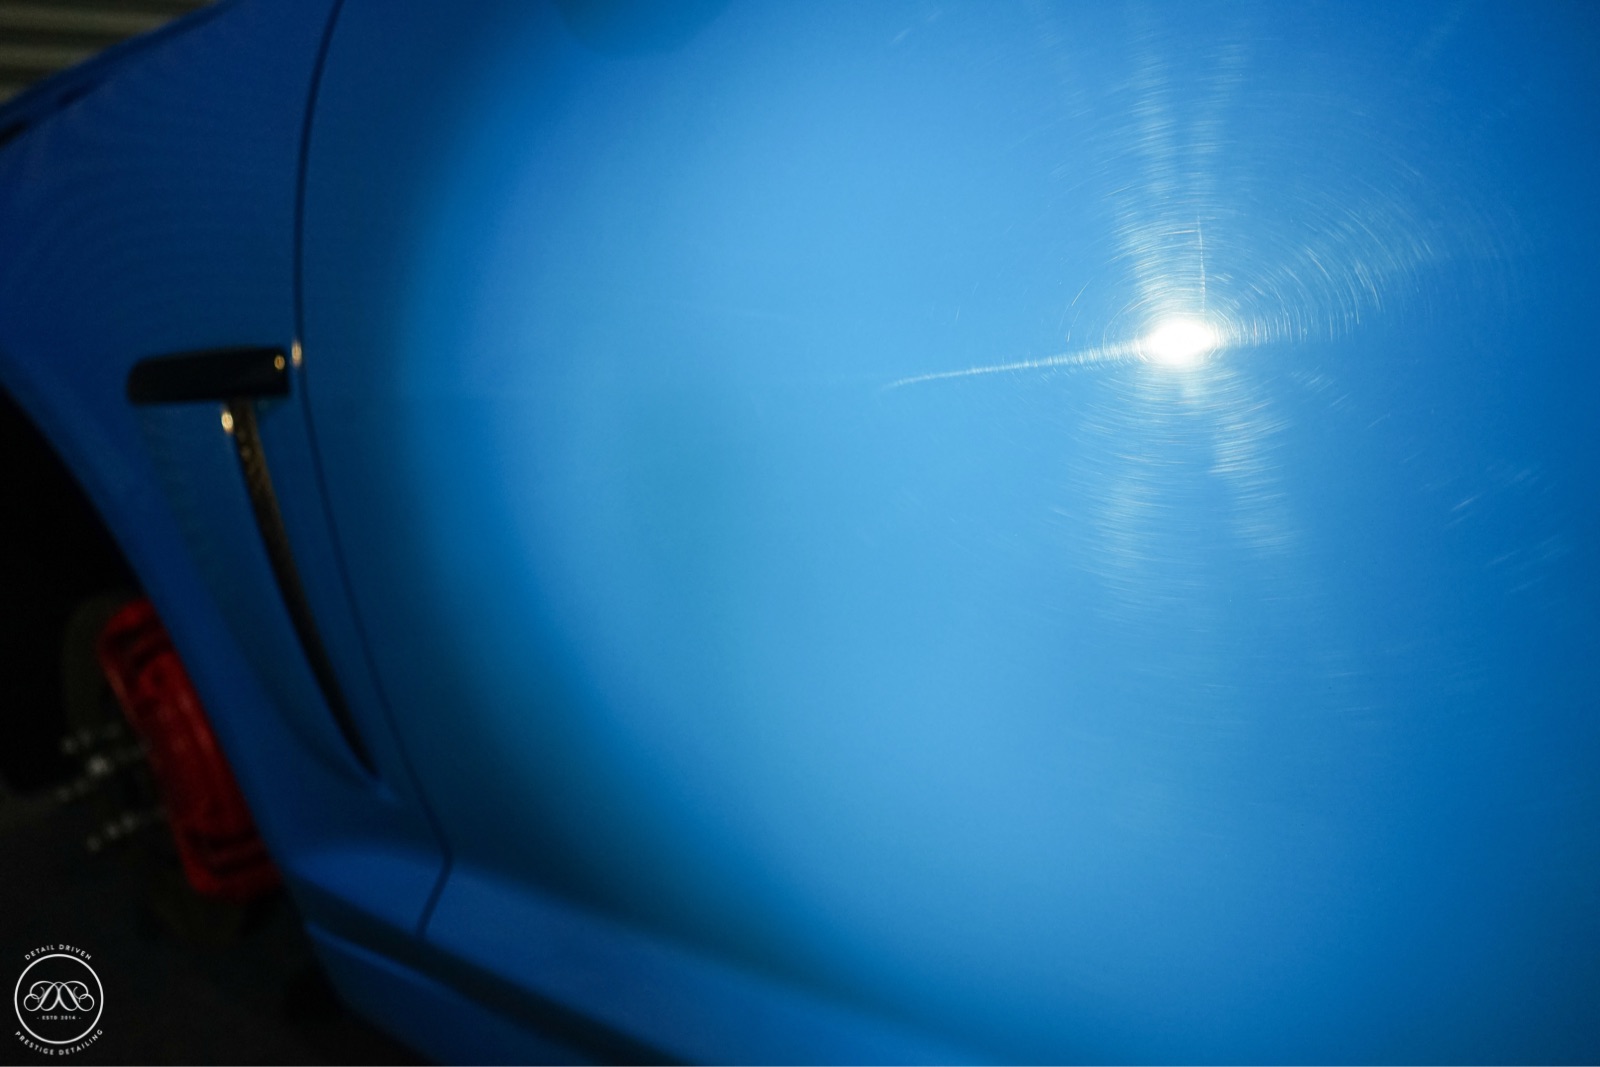
During it's initial inspection it was quickly evident the bodywork and exterior in general had been through a lot and it was going to take some serious work to get it up to scratch. A solid pastel blue French Racing Blue is an individual colour rarely found on many other Jaguars. 14 weeks later the car arrived onsite and I was relishing at the opportunity to transform such an iconic car for Jaguar.

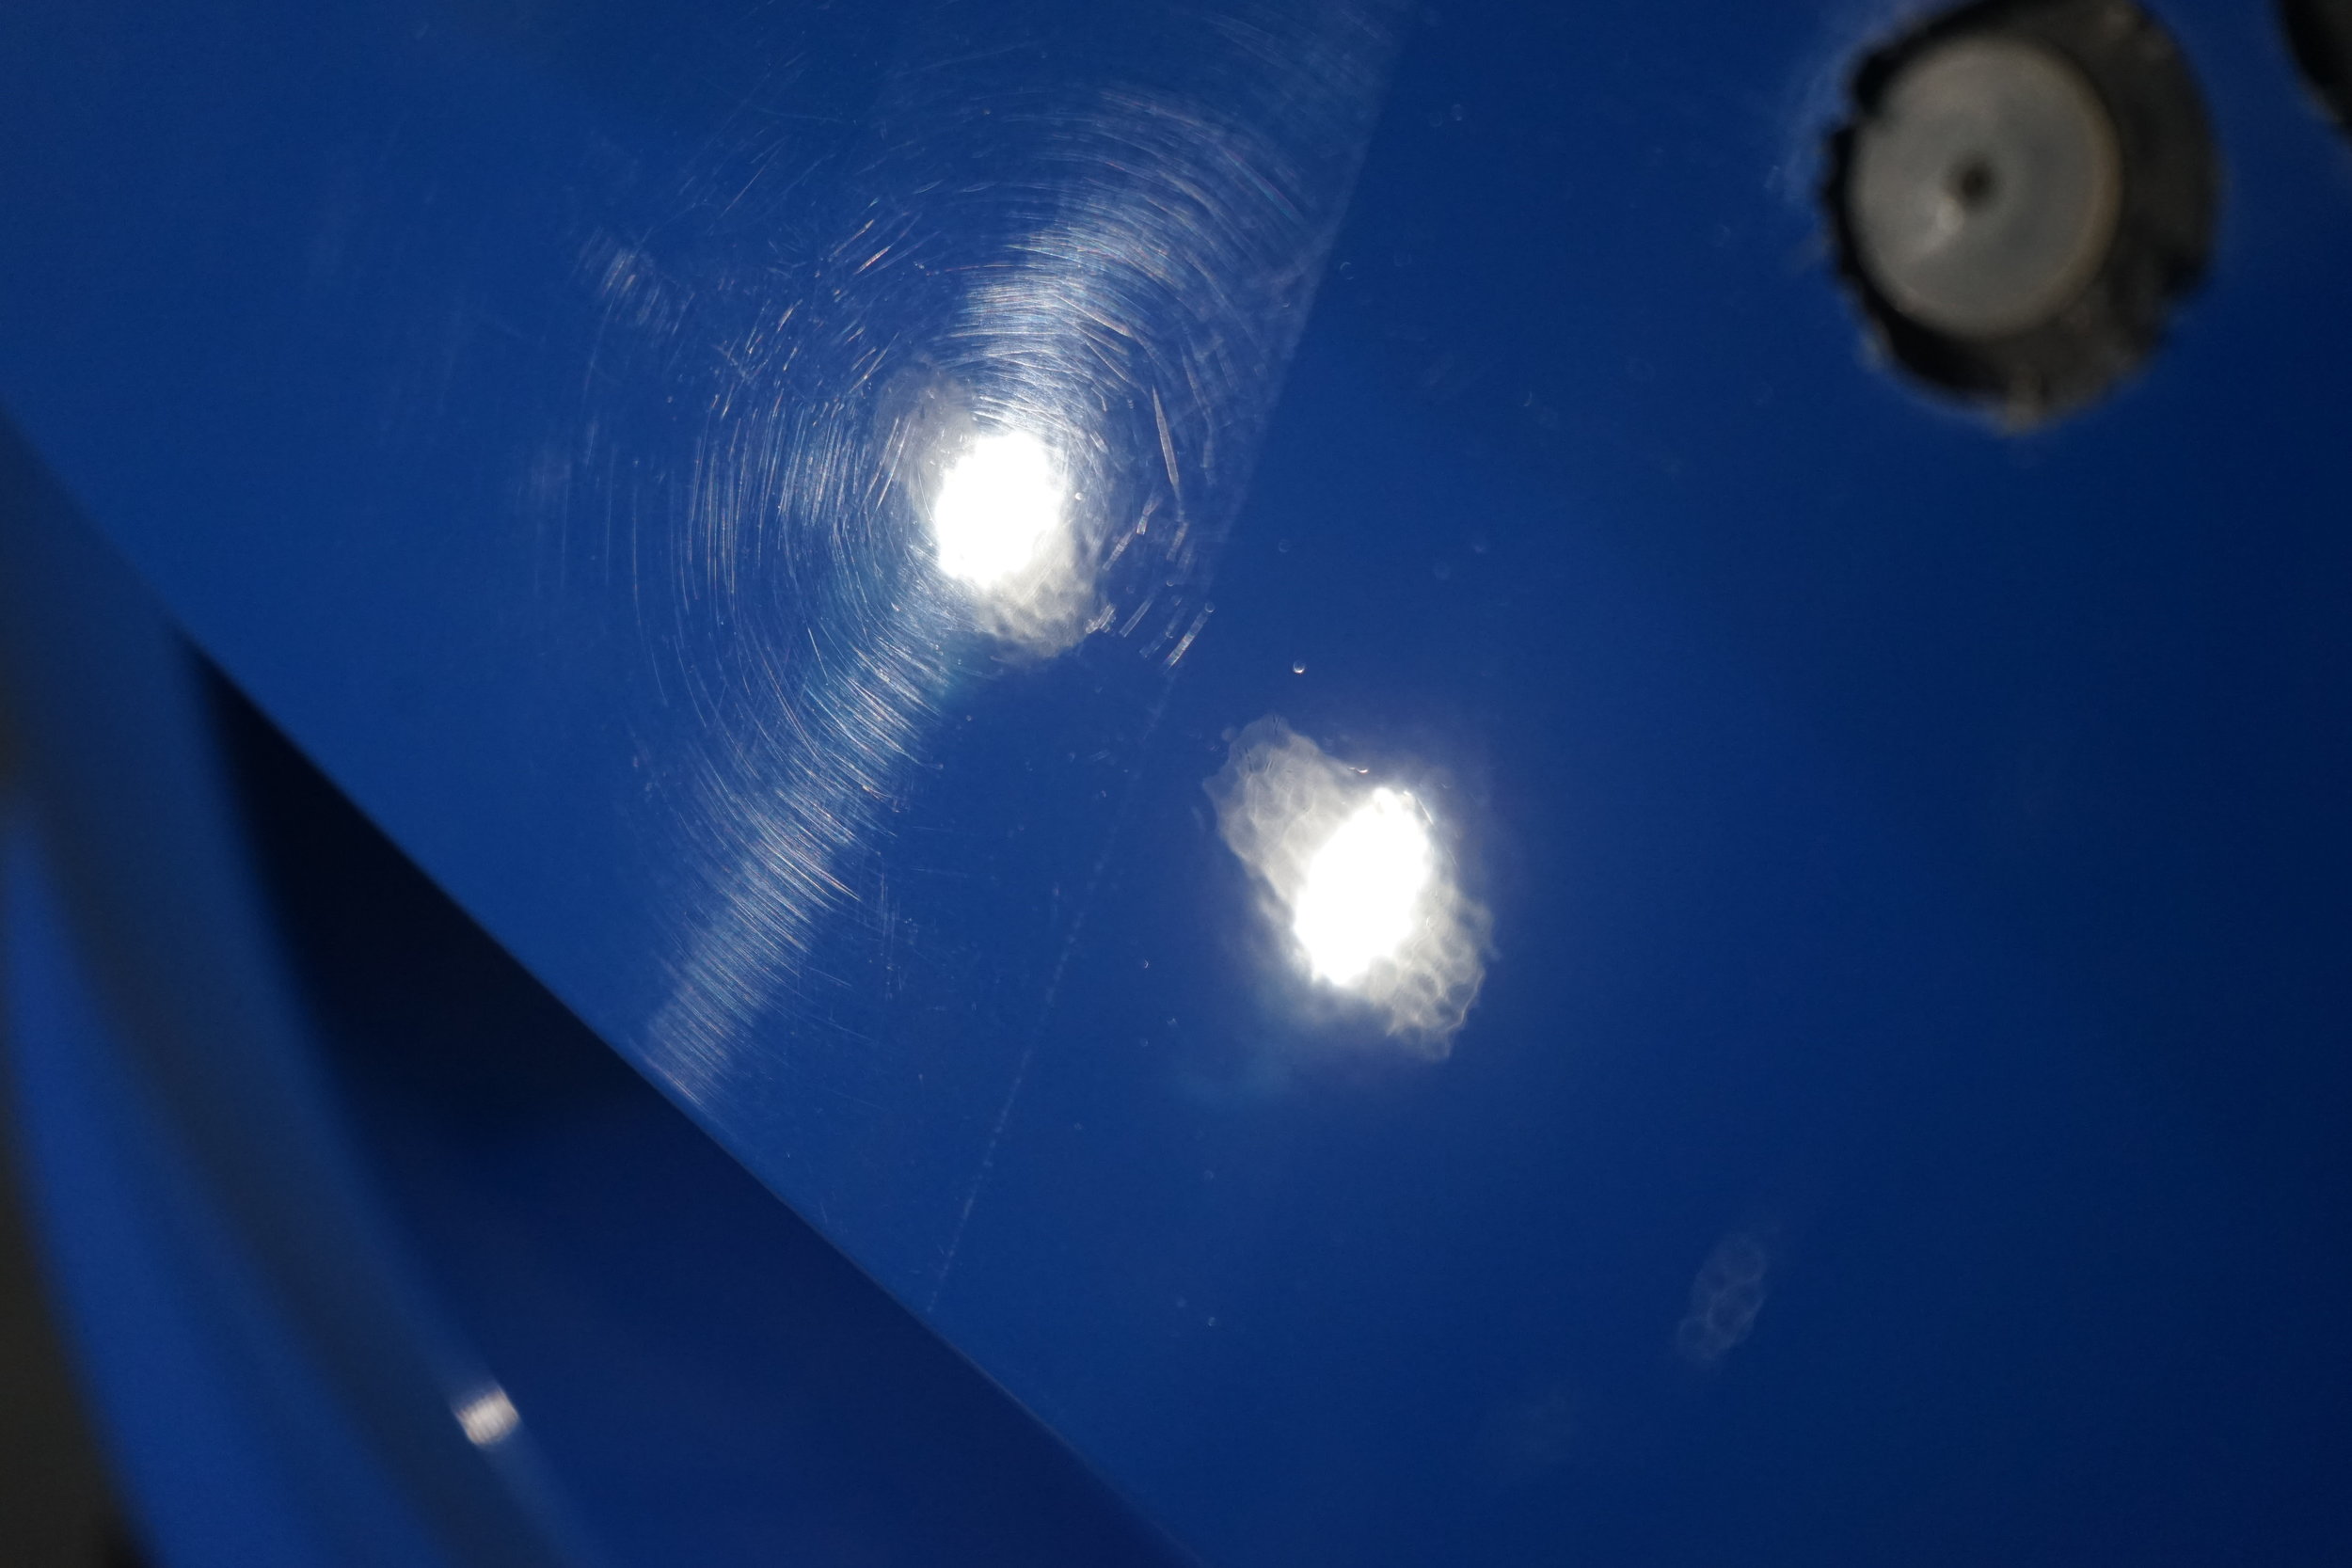
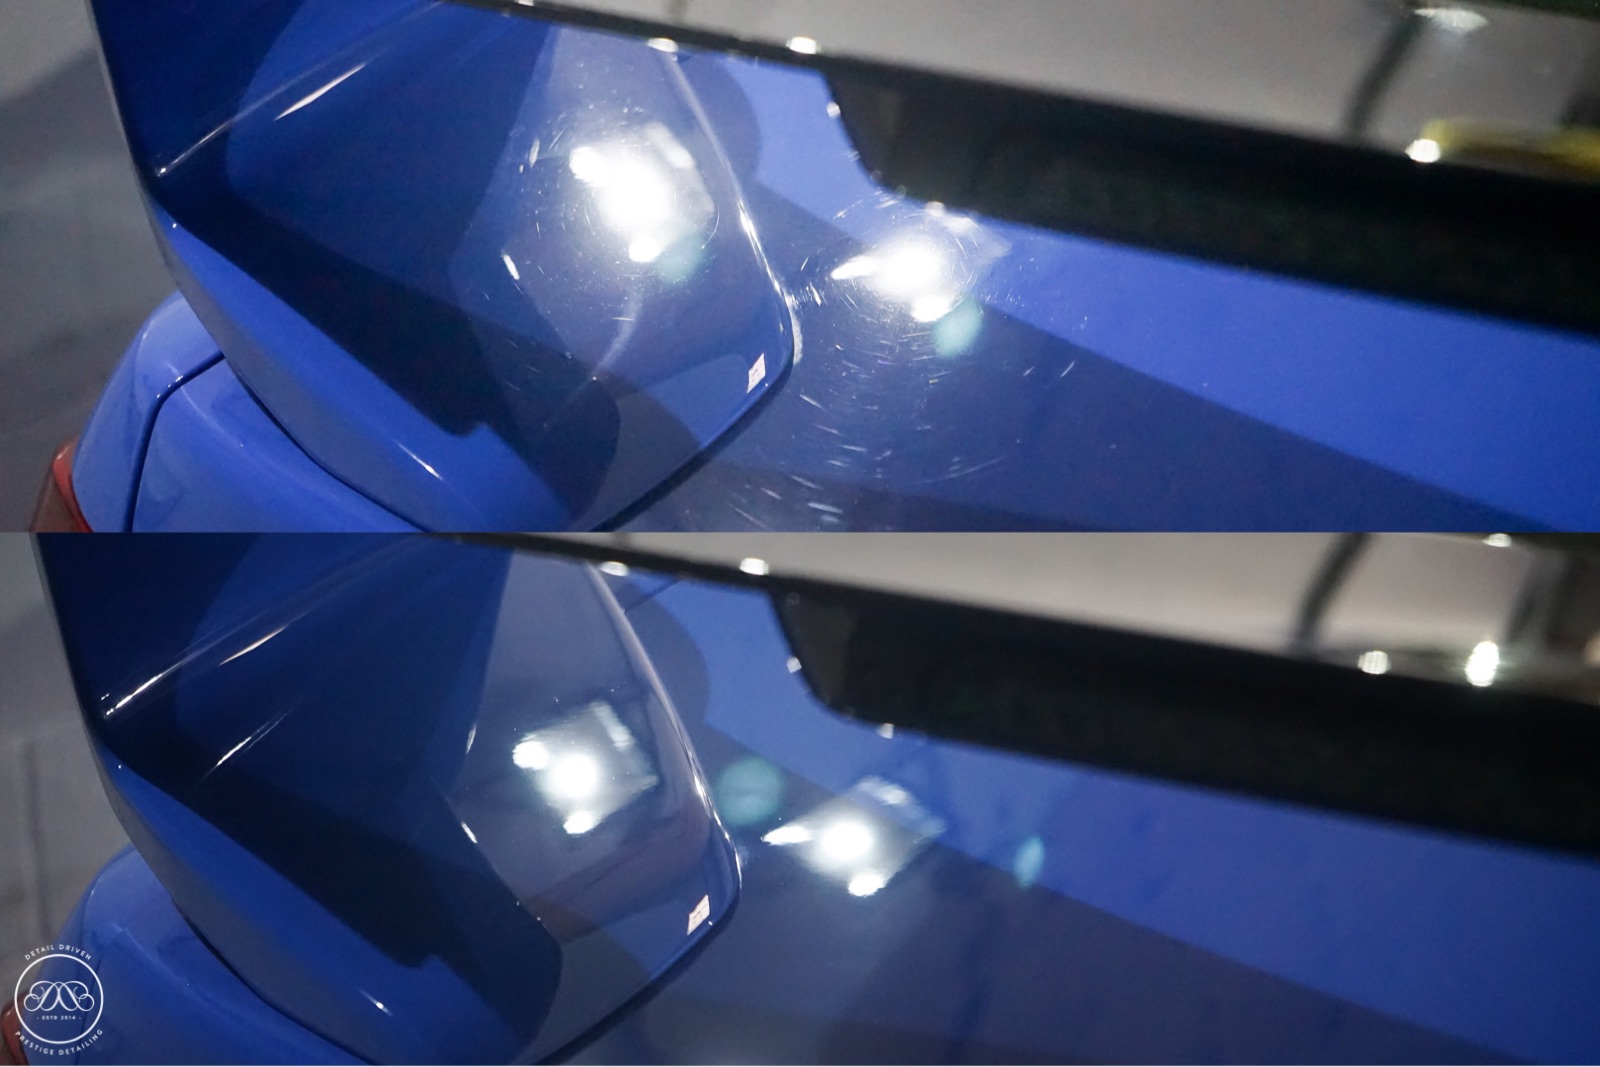
The RS received the usual treatment outside a thorough decontamination and deep clean prior to the commencement of any machine work. These stages always reveal the true story behind every car and the true level of the task ahead. Booked for a multi stage correction detail I knew I had my work cut out but I wasn't prepared for some of the discoveries I made with the bodywork and wheels. Once inside the car was raised up and the wheels removed. Once I had the wheels off I was able to see the the terrible state they were in, neither me or the client were expecting me to find the nasty smart repairs on the wheels or the heaps of overspray in the barrels so after short discussions with my Wheel guy and the client all four wheels were sent off for full refurbishment while the car was with me. The discoveries didn't end there, the nearside had seen its fair share of repairs, the worst being the rear quarter which left a lot to be desired for.   After completing the full initial assessment, depth readings and inspection delicate surfaces were taped and the initial cutting stage of machine polishing commenced.

In total I spent nearly three days cutting, being a solid paint French Racing blue was a super super soft paint to work with so patience was key. Go in too heavy and the paint micro marred, go in too light and I'd have been there all year. It was about finding a happy medium but the result of that is extended cutting stages as you can't go in with anything too agressive. The upside to this is that very little refining is required as I took my time with cutting very few defects were inflicted by the initial stage. The cutting stages were followed by a refining and finishing stage in order to ensure the striking blue was finished to the highest possible level adding a deep rich gloss and a very sharp crisp finish. In total I spent five long days cutting and refining the paintwork in order to reach a finish I deemed more than acceptable. Door shuts, boot shuts and the engine bay all received some level of polishing to ensure the highest possible finish throughout the vehicle. With final wipe down complete the first stage of coatings got underway with the base layer of GTechniq CS Light applied and left to cure overnight before returning in the morning to apply the top layer of Gtechniq EXO v3. At this point the wheels returned and the coating of the glass and wheels were complete and the end was finally in sight. I tend to spend in the region of a day completing all the final touches once all the coatings are applied. This allows me to work around the vehicle meticulously dressing the engine bay, polishing exhausts, dressing arches and tyres and chasing the level of perfection I pursue.

On the final day the wheels were returned and coated. The wheels unfortunately had seen an extremely hard life. Upon removal the faces had seen multiple cheap smart repairs and at some point some full refurbishments where they had taken the life out of the wheel. Diamond cut wheels are a challenge when it comes to refurbishment if you don't know what your doing, they are extremely easy to mess up and these wheels are prime examples of wheels that have been poorly refurbished time after time. The result of this was that they were not perfect when they returned. The reason being is because so much had been taken from the face of the wheels during previous refurbishments that my wheel guy had very little alloy left to work with making it extremely difficult to get the perfect finish with clean lines between the contrasting diamond cut and black. The client was kept informed throughout and both myself and my wheel guy did all that we could to ensure he was satisfied with the end result but it goes to show you really don't know what your buying until it's in the hands of a professional.

This detail was a challenge from start to finish. I enjoyed every minute of it and in some areas it was a learning curve but I take positives from that and it only makes me a better detailer. The outcome was stunning and was the result of over 100 hours detailing. This doesn't come cheap but when your looking for the level of finish I achieved with the additional touches of wheels and coatings you would be a fool to pay an amateur.

Thats enough of my waffle and time to let the photos do the talking...


CD59F2EC-89C9-48CD-B239-E87786F29A53.JPG
17BB1B85-0026-4527-A027-28BEE00DF63C.JPG
FDF71972-CE56-4069-AA0C-1DF89467663E.JPG
0916DA3E-8AC2-4E02-91B0-E2496DD5A91E.JPG
5B202048-5E74-4FA9-B840-3F9EA1D99D03.JPG
006109FB-208A-44DC-B6EE-B9848467377B.JPG
BE62B950-C886-4610-9AAB-4351B2BD3B4A.JPG
D8C75443-B72C-4FB7-A97F-5DD3924A1759.JPG
3E89D021-4C9A-4711-A6D4-008FEA8BA8AB.JPG
2F383698-6DCC-4142-BEBF-5ECCAEE173A4.JPG
6560DF6E-9BBF-4C46-8F3B-9DDE02DD0005.JPG
EA754BF5-5FCE-4CC8-9A3C-876019585280.JPG
F24871EB-EFC2-4FA4-8970-52184105195B.JPG
92177B2A-7036-43E5-A895-5C3C7D93A166.JPG
53AF0687-639A-457D-A06F-DC348F96AECC.JPG
4D9EAC2D-C610-4827-91EF-F70CD439A975.JPG
0D7DDD9D-C441-461F-B16C-19E15B6F4980.JPG
418A498D-EAD1-4993-866F-B6698F7ADE19.JPG
EA6756CE-B2CE-480F-B314-ADCDFC8D1E05.JPG
589F9768-CFF8-491B-91E5-9AEAE60396A4.JPG
DB304894-4302-4B51-B8EE-659746E32C7D.JPG
28468454-9ADF-4021-B6BA-6B48672D64CC.JPG
C29FB96D-8A89-4CAA-9133-64ABB1B288C0.JPG
46BFF4A4-2040-48AD-AA04-1895E5F799D8.JPG
51419920-5483-4E43-9768-8012C9B748A7.JPG
85E6D222-8B49-4DFF-A19E-0C0730D888D5.JPG
110D459F-B363-479E-80F6-BF82C93CD76E.JPG
BE4ED795-683D-4D09-B1F6-5EE0C66B5698.JPG
DD7E11BD-ACAE-4168-B056-C417491A267B.JPG
B0D20FFD-B1AC-4610-ABA4-08006BF2A53E.JPG
A944677F-CFC7-4DB7-967C-1CE514C256A4.JPG
B13E68D5-41A4-4EB2-97FC-48C326BD57FD.JPG
C6794BA1-D9C7-4AAF-9FC0-F7E9F68D6C98.JPG

Honda Integra DC5

Single Stage Correction Detail 

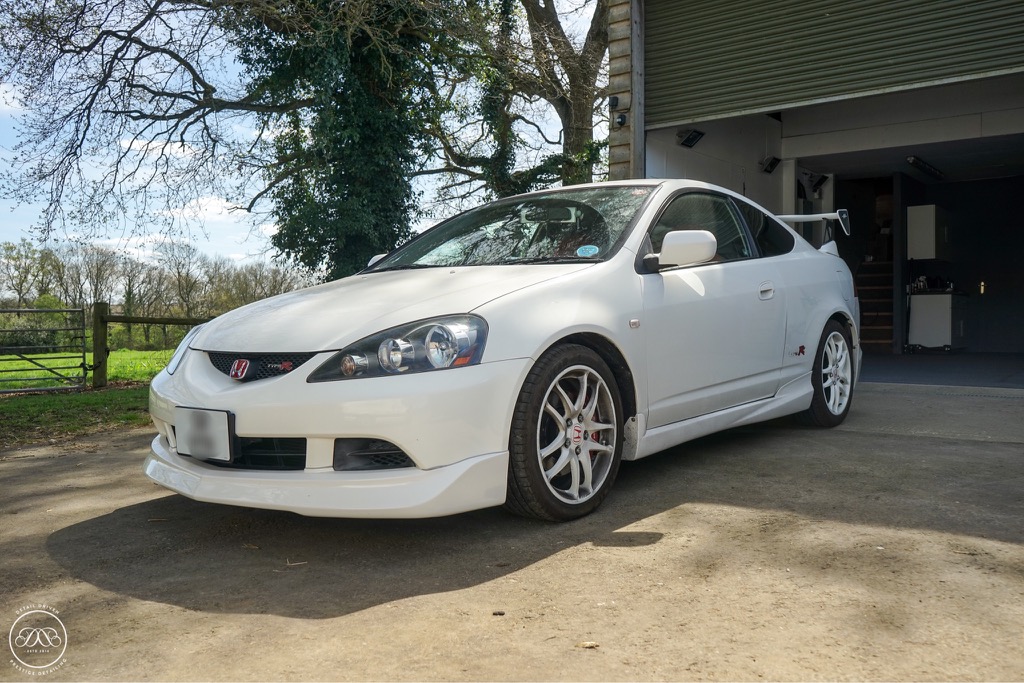
After years of saving and searching this client wanted his DC5 restored to a level that he knew very few would appreciate yet still he knew there was now better way to treat his investment. A fresh import from Japan I was interested to see what condition it would be in and more importantly what the paintwork would be like. 

Upon arrival as always it was clear this Championship white DC5 was not anywhere near what I deem an acceptable standard and I had another big transformation on my hands. Starting with decontamination I spent the best part of five hours outside deep cleaning, removing the wheels and degreasing the exterior, arches, engine bay and shuts to ensure every area was properly prepared for the polishing stages. 

Booked for my Single Stage Package the goal was to achieve 85% correction removing swirls marring and abrasions whilst improving deep scratches and overall appearance. I spent approximately a day and half completing the polishing stages before moving onto application of two stage Ceramic coatings. Opting for the GTechniq coatings a layer of crystal serum light was applied first before being topped with EXO the following day. In between cure times the glass and wheels were coated ensuring maximum levels of protection for years to come. 

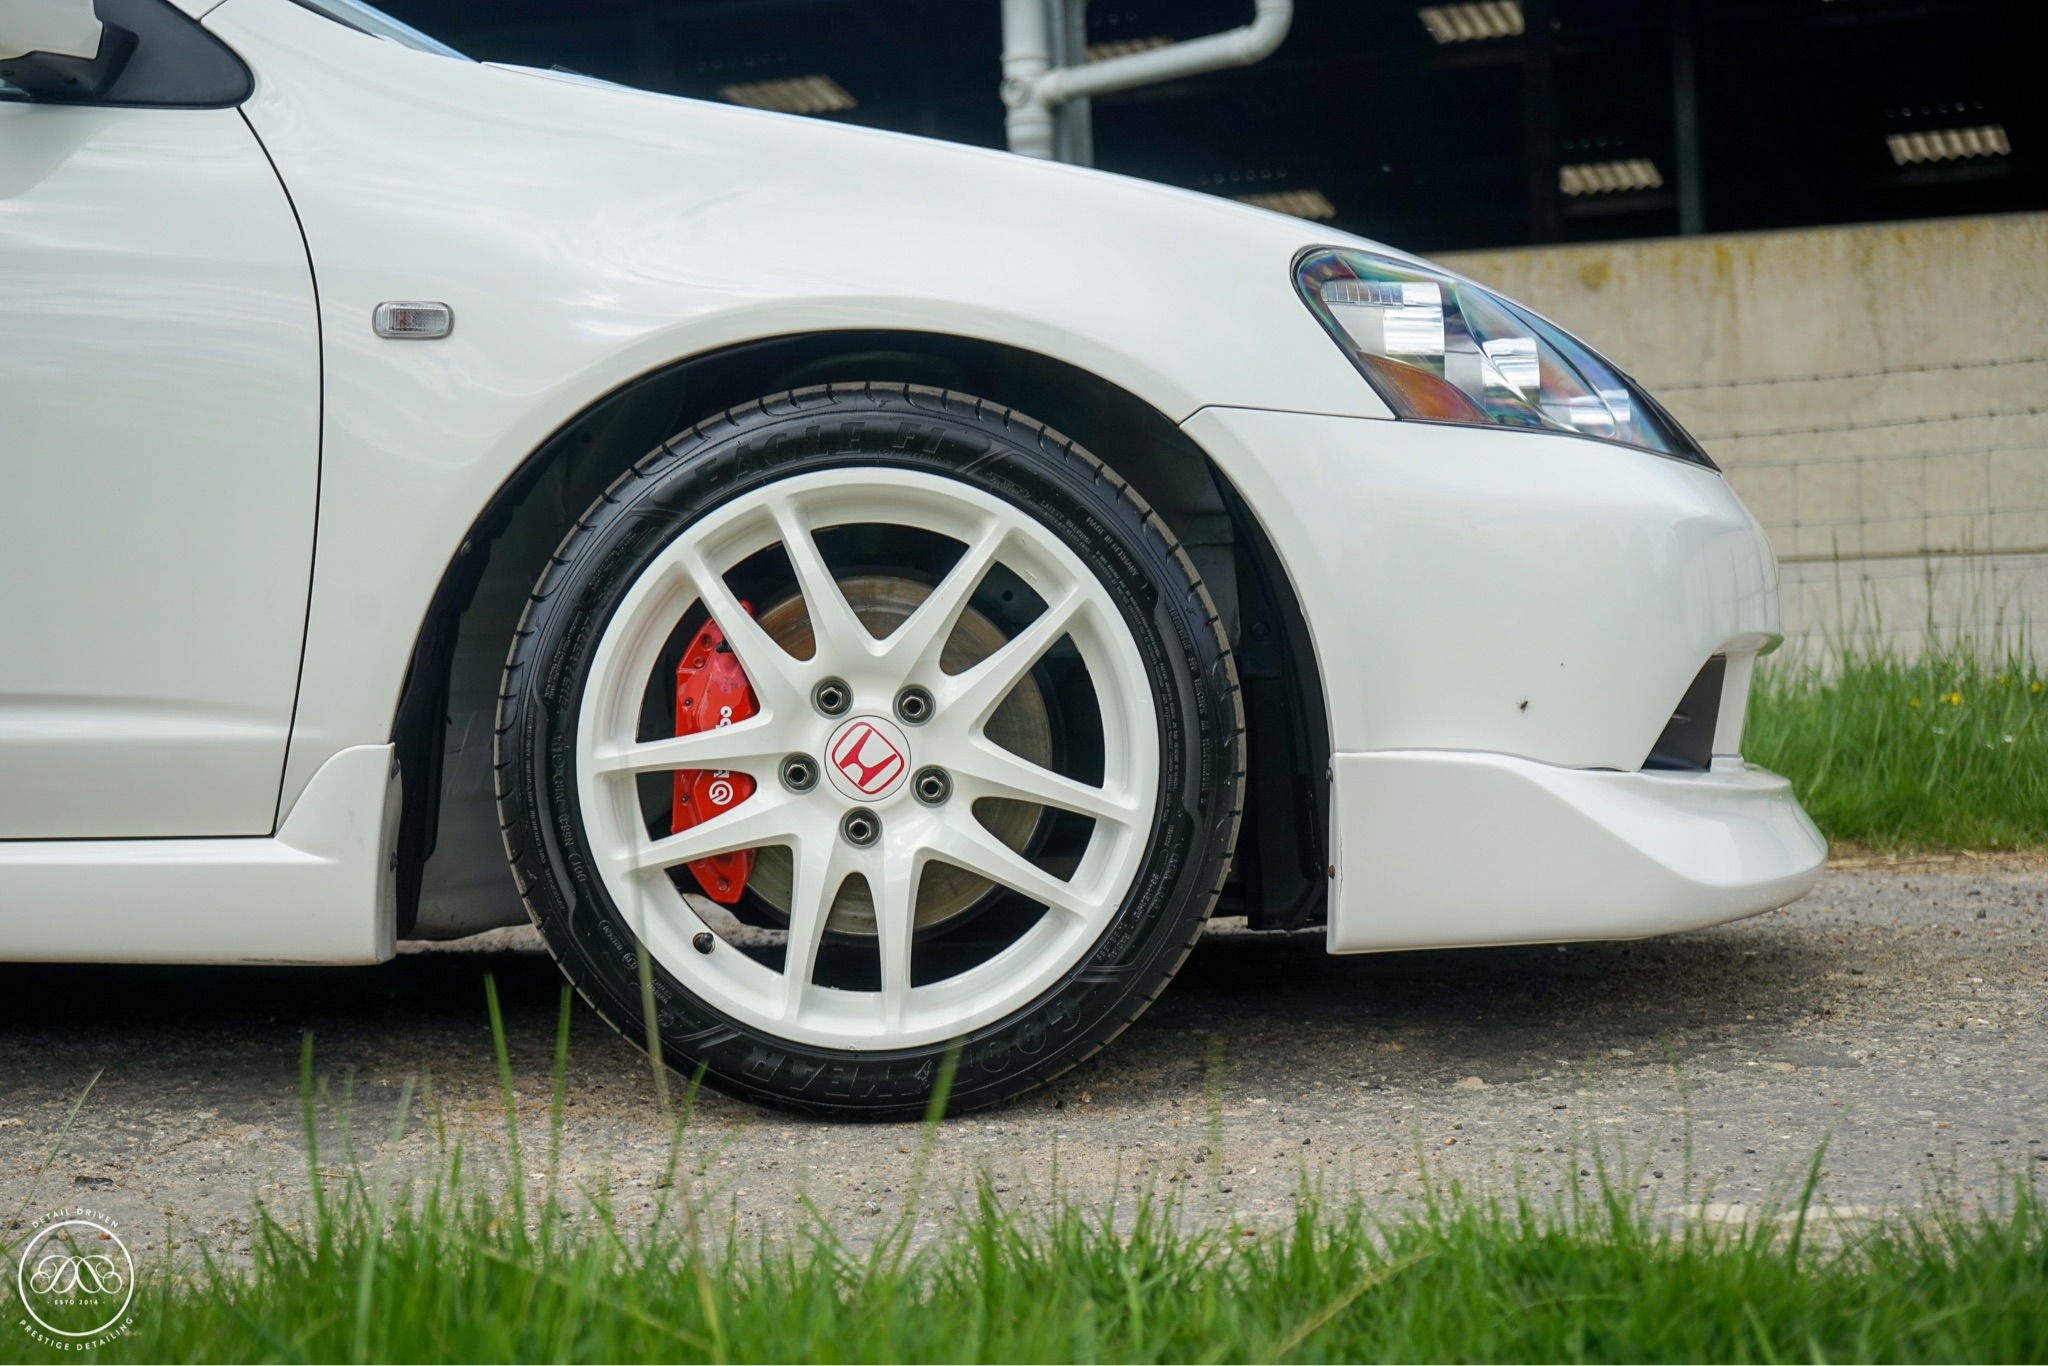
Nearing the end of the detail the final touches were completed. Alloy wheels touched up with a Championship white touch up pen, engine bay and tyres dressed and final checks complete before rolling it out into the sunshine to complete full assessment and admire the end result! 

IMG_9978.JPG
8C5003F1-DD87-492E-9F4A-52F2EEDC854E.JPG
FB6E8E28-E562-4DB2-8E49-CB907E933A30.JPG
9B9C2E29-687C-4D56-9852-AD281AF79686.JPG
284E8A21-467B-4085-BC80-8DCFE5AB6CB0.JPG
724081FA-F75C-4922-A329-E67837B257A6.JPG
E06F74D1-7342-479E-8F64-17A59D0B6859.JPG
9CB6024C-5126-4854-AC2D-78D8D5F6B3A4.JPG
DB19F75A-7C5C-491B-AA7F-DF6FA219F70D.JPG
4E84CD50-8AFF-41CD-BB09-64D9DDE896B2.JPG
244D3D96-B904-490E-9D76-6C8591EC5EA7.JPG
D2690B8B-4D43-46C2-99F2-CDDB24EE2E00.JPG
A7F5BD2F-D348-42CB-8F6D-099941F55F93.JPG
6A8169D1-F8D7-49EF-85C1-88FE0822EFB5.JPG
18624A68-1745-484C-91B1-62FF03CDD6AD.JPG
A9339E54-32FF-48EA-978A-4519FEE90604.JPG
79797E91-B840-461E-B60F-370A0CD48DE5.JPG
15133F29-B80C-409A-A46B-07E886E87AA0.JPG

Nissan GTR

New Car Detail  

After detailing the white GTR back in January my love for GTR's only grew stronger when I got to meet this one. With less than 50 miles on the clock and already sporting a few bespoke customisations chosen by the client this lary Katsura Orange Nissan GTR was booked in to receive my new car detail. 

Unfortunately the dealer refused to allow the car to leave the dealership un-prepped so I wasn't sure what to expect in terms of defects. After the initial decontamination stages the car was pulled inside and much to my suprise I struggled to find any defects at all. Aside from the odd small RDS very little polishing was needed so the whole car received a light refining stage to improve clarity and gloss. 

Once the paintwork had been refined to my standards coatings were applied two layers too the paint, and glass followed by application of ceramic coatings to the wheels and fabric repellent to the interior. Slowly but surely I worked my way around the car dressing th engine bay, polishing the exhausts and completing all then finishing touches just in time to get some stunning late afternoon shots in the spring sunshine. 

IMG_0319.PNG
IMG_3120.PNG
IMG_3119.PNG
IMG_0338.JPG
IMG_0321.PNG
IMG_0380.JPG
IMG_0384.PNG
IMG_0406.PNG
IMG_0410.JPG
B6C49FFB-BF7E-428A-8EEC-C9102EEE3FAA.JPG
7A9D1832-DBAB-47B7-9E78-568F00F51AFB.JPG
22EDE6CF-31A2-4E3A-AEB7-92A01AA97214.JPG
EA04FC52-F7A7-496B-9173-88C6E10DFAEA.JPG
B425976E-7AC2-420B-8654-8A4F0769AA7D.JPG
D70FB566-75EE-4C78-AC3A-3F2841AAFB5D.JPG
29B3474D-1E30-4474-A20F-8B85F309CF9E.JPG
1A9830BD-0670-4DEA-85D3-123C30BE5492.JPG

BMW X5M

New Car Detail

After having near enough every top of the range BMW you can think of this client decided it was time to invest in some proper protection and wanted someone to care for his next investment afterwards.  Due to the logistics and turnaround timescales on this occasion I agreed to complete the work onsite at the dealership. Not something I often agree too given that I now have the unit but in certain circumstances I'm happy to. 

The dealer were instructed to do as little as possible and leave behind any tape or film that they didn't need to remove. The initial decontamination process saw removal of all the protective films and foams from the exterior followed by a fully inspection prior to commencing any work. All okay I proceeded to spend the next three to four hours deep cleaning and decontaminating to remove all the dust and grime collected during transportation. Once decontaminated and dry the car was moved inside for full paint inspection ahead of a single stage machine polish. As expected there were multiple factory defects present, buffer trails, light sanding marks and light swirling. All defects were safely removed via a single stage machine polish before full wipe down in preparation for Ceramic coatings. Two layers of Gtechniq Ceramic coatings were appliedl providing the bodywork with three years garanteed protection. Coatings were then applied to the glass, leather and wheels providing this stunnign X5M with the best possible start in life. 

All defects removed and all surfaces coated it was time for the finishing touches. Tyres dressed, engine bay dressed and exhausts polished she was ready for the road. The client was over the moon and yet another car added to my maintenance plan... 


IMG_0136.PNG
IMG_0147.PNG
IMG_0151.PNG
IMG_0153.PNG
15B0CE3F-5FF5-4100-B359-7907303195A7.JPG
IMG_0156.JPG
IMG_0158.JPG
IMG_0159.JPG
IMG_0189.PNG
IMG_0171.JPG
IMG_0191.PNG
IMG_0193.PNG
IMG_0174.JPG
IMG_0209.PNG
IMG_0201.PNG
IMG_0198.PNG
IMG_0195.PNG
IMG_0184.JPG

BMW 320i M-Sport

New Car Protection Detail

After preparing this clients Range Rover Evoque for sale and being astounded at the transformation made he instantly bought into the world of detailing and soon after booked in the new arrival for the best possible start in life. An extremely busy man the client didn't have time to arrange the finer details, all he knew is BMW were not touching the new arrivals and that it was to be handed over to me as soon as it was ready. Passing on the details of the salesman I arranged the handover with the client, travelled down to the deslership and collected the car on the clients behalf and drove it back to my unit. 

An early collection at the dealer allowed me to crack on with unwrapping and the decon stages early the same day. First job was to safely remove the wrap that BMW had left on the car before beginning the multi stage decon. Ensuring all transportation contaminants and dirt was removed the car was jacked up to allo proper access and deep cleaning. After spending all morning outside the car was safely dried and moved inside for paint inspection. 

With the correct lighting and light sources I was able to properly inspect the paint for defects of which I have to admit there were very few, the reason being is that the dealer didn't touch the exterior meaning the only defects were minor superficial marks from the factory. A single stage machine polish was carried out to remove these defects and greatly improve the overall appearance.  

Now the paintwork was finished properly and defect free it was time to improve the flawless finish with Ceramic coatings adding a deep gloss and essential protection. G-Techniq CS Light and EXO applied and layered before applying equivalent coatings to the wheels and glass finishing the exterior protection. The final touches were applied dressing the tyres and engine bay, polishing the exhaust and preparing and protecting the interior. Another brand new car prepared and protected safely and professionally providing the best possible start in life. 


BBA22282-7ACE-482C-A525-8C1256FA83E6.JPG
A6CFBD41-207B-4B5A-B1C1-ACB1E23225DB.JPG
IMG_2378.JPG
267C4BC5-F001-405F-A420-964CC816F45D.JPG
EBDD46BA-CC52-46CC-92BC-049D5EF3F313.JPG
60A74AC2-EB91-48A2-8C70-012CE0ED6D84.JPG
C8351208-E254-472E-92E0-0E87D3821D2A.JPG
2198E54B-FC32-4E5D-9156-7A391C9A8142.JPG
9845F319-CCC8-41B1-9CC8-9B6A85F94A56.JPG
FD77B457-ACEF-4F66-992E-6A518F29A051.JPG
3CCECCE2-9811-40F1-9ED8-082F663206DB.JPG
542CB224-5AB5-42A5-9EF1-DD03A596640D.JPG
61CEC72D-B6B4-49E9-8C85-E9EE9CBD6F6D.JPG
D527B2BA-3930-4472-9DCF-1E3F9A7AA226.JPG
DB752770-1A55-4867-BEA1-E44A02DFE42E.JPG
B85D7AAD-BBE1-418F-A582-EF162EA637DF.JPG
6374E785-6825-43D7-9834-C104F595CD4A.JPG
7FDD0E65-A50A-4A8C-9680-22E5CBF90621.JPG
7864EF90-75DB-47F4-B25C-0AD5B900707A.JPG
22D8196A-D75F-4174-A5A3-5AD17930EAE6.JPG
784919F1-5AAB-4C29-B3CB-B8BADC48DC8D.JPG
79D307E3-C722-47CA-AD3F-7D83BB12D1BE.JPG
68C87F96-7648-4597-9E7B-ED22D1013139.JPG
B4635995-15C9-4098-B584-CDDFA82F138F.JPG
135CF5A5-6EFF-4637-AE80-E40B10A3DC5F.JPG
76E878CE-CBB6-4C0C-96D9-B042B8A53A92.JPG
IMG_3112.JPG
IMG_3114.JPG
4ED9D68C-973E-4720-9223-8E90374E09C9.JPG
5ECE7E2C-28E3-4391-8A24-83B5F97F0261.JPG
B0A8985C-715E-4D3F-A3C2-6F51B6170633.JPG
99249D58-4045-42A9-8A82-27E639A2196E.JPG
8B4400AB-7AD0-4238-B44F-13A4FDA4C297.JPG
50E83CD8-1DB2-4755-BB0B-3760375C7282.JPG
8B4400AB-7AD0-4238-B44F-13A4FDA4C297.JPG
AC0A748D-8C72-4DDB-BA9A-9CDF35A195A5.JPG
4C82E663-769E-4B97-A748-7B6EEDC2F0F4.JPG
7FCFB206-61CB-47C1-800F-98961B73C75D.JPG
IMG_3111.JPG
FED90F7D-8A41-439B-8773-1B08F912969E.JPG
4602F4B7-7465-4F53-97FE-F7320568A8DE.JPG
8C06480F-C8A2-4780-9052-AB9DDE563E46.JPG

Range Rover Sport SVR

New Car Protection Detail 

One of the great things about being a detailer is when you get to enjoy the clients excitement about the arrival of a new addition or toy. I knew about this booking months before the car had been ordered and it was clear from th start the client wanted the best possible automotive care for the new arrival. The dealer despite their bemusement about it all were under strict instructions not to touch the car, not to even breathe on it! Originally expected to arrive late 2016 the car eventually arrived with me the first week in March and was the first 17 plate I got my hands on. Not a bad start! 

Onto the car, it arrived covered in dust from transportation just as we asked. It also had signs of use as the owner asked to take the car for a drive before dropping it to me, how could I refuse?! So after spending several hours decontaminating and removing all the transportation dirt and fallout the car was moved inside and prepared for polishing. Despite the paint code actually being black it's clear the car was a very light shade of black very nearly grey which I was pleased to see given that I'd be maintaining it for the forseeable! The car received a single stage machine polish removing small buffer trails, light marring and overspray before then being wiped down and prepared for ceramic coatings. All new car details receive my total surface protection package as standard applying ceramic coatings to the paint, glass, and wheels. Leather guard is applied to the leather upholstery and fabric repellent to the matts. The final touches where then applied, engine bay and tires dressed before final checks and handover to a client who couldn't wait to get their hands on the new toy! Another new car on the books to receive my regular maintenance package. I'll let the pictures do the talking...

IMG_1949.JPG
IMG_1950.JPG
IMG_1951.JPG
IMG_1952.JPG
IMG_1953.JPG
IMG_1954.JPG
IMG_1955.JPG
IMG_1956.JPG
IMG_1957.JPG
IMG_1958.JPG
IMG_1959.JPG
IMG_1960.JPG
IMG_1962.JPG
IMG_1965.JPG
IMG_1964.JPG
IMG_1966.JPG
IMG_1967.JPG
IMG_2068.JPG
IMG_2067.JPG
IMG_2069.JPG
IMG_1968.JPG
IMG_1969.JPG
IMG_1970.JPG
IMG_1971.JPG
IMG_2055.JPG
IMG_2060.JPG
IMG_2066.JPG
IMG_2062.JPG
IMG_2065.JPG
IMG_2059.JPG
IMG_2064.JPG
IMG_2056.JPG
IMG_2058.JPG
IMG_2061.JPG
IMG_2063.JPG
IMG_2070.JPG

Audi A3 S-Line

New Car Protection Detail

Fresh from the dealer this Audi A3 Left unprepped was booked in to receive the best possible start in life. The dealer were instructed to leave the wrap on however it appears the messsage got lost in translation. Seeing some use prior to its arrival the decontamination stages were more involved than they would normally be on a new car detail. Following a deep clean the car was moved inside to receive a single stage machine polish. Dried and taped up the bodywork was inspected for defects and then polished via the Rupes bigfoot system to remove minor swirls and light defects. Once all imperfections and defects were removed GTechniq coatings were applied to the paint, glass, wheels and interior providing this new car with years of guaranteed protection with proper maintenance. Another client signing up to my maintenance package I look forward to seeing this car on a regular basis.  

IMG_1871.JPG
IMG_1872.JPG
IMG_1873.JPG
IMG_1874.JPG
IMG_1875.JPG
IMG_1876.JPG
IMG_1877.JPG
IMG_1880.JPG
IMG_1881.JPG
IMG_1883.JPG
IMG_1882.JPG
IMG_1885.JPG
IMG_1885.JPG
IMG_1886.JPG
IMG_1887.JPG
IMG_1889.JPG
IMG_1890.JPG
IMG_1891.JPG
IMG_1892.JPG
IMG_1893.JPG
IMG_1894.JPG
IMG_1895.JPG
IMG_1896.JPG
IMG_1897.JPG
IMG_1898.JPG
IMG_1899.JPG
IMG_1900.JPG
IMG_1901.JPG
IMG_1903.JPG
IMG_1904.JPG
IMG_1905.JPG
IMG_1907.JPG
IMG_1906.JPG
IMG_1909.JPG
IMG_1911.JPG
IMG_1912.JPG
IMG_1914.JPG
IMG_1910.JPG

Nissan GTR

Enhancement Detail

The Nissan GTR the new age sky line has a reputation for having incredibly soft paint! So prepared for the challenge ahead. Decontamination involved heavily degreasing the engine bay and door shuts as white cars really show the build up of grime and dirt, after spending the whole morning deep cleaning and decontaminating the car moved inside to go under the knife. Much to my surprise the paint was rock hard! Whilst detailing the engine bay I did notice a sticker claiming the paint had Ceramic Clear coat which is a common occurrence these days but not on Japanese cars! To be honest I would much rather work with hard paint, with the right products it can be just as straight forward as any other detail, much better than super soft paint! After a single stage machine polish 90% of swirls and light defects were removed and heavy staining to the rear bumper from exhaust fumes. The client also chose my Total Surface Protection package offering a minimum of three years protection via ceramic coatings. Two layers of Gyeon MOHS applied to the paint, Gyeon Rim applied to the wheels and Gyeon View applied to the glass. Unfortunately due to the short winter days there was a definite lack of light when taking the final photos but rest assured the client was over the moon with the finished product and walked away with a hamper of products to maintain it and a grin from ear to ear.

IMG_1509.JPG

Car Upon Arrival  

IMG_1512.JPG

Multi Stage decontamination underway  

IMG_1513.JPG

Heavy contamination being extracted from the wheels during the decontamination stages.  

IMG_1515.JPG

Iron remover reacting with bonded contamination on the bodywork.  

Iron remover reacting with bonded contamination on the bodywork. 

Iron remover reacting with bonded contamination on the bodywork. 

Car moved inside and paintwork inspected. Appropriate lighting displaying the wealth of defects present.  

Car moved inside and paintwork inspected. Appropriate lighting displaying the wealth of defects present.  

Swirling and marring present throughout the bodywork.  

Swirling and marring present throughout the bodywork.  

Lots of intricate areas requiring attention. The extensive rear bumper following a single stage machine polish.  

Lots of intricate areas requiring attention. The extensive rear bumper following a single stage machine polish.  

50/50 displaying the results before and after a single stage machine polish. The left after and the right before 

50/50 displaying the results before and after a single stage machine polish. The left after and the right before 

IMG_1694.JPG

Lower section of the front bumper before. Showing heavy signs of poor maintenance.  

IMG_1695.JPG

Lower section of the front bumper following a single stage machine polish.  

IMG_1696.JPG

Paint depth readings taken throughout before and after polishing. 

IMG_1697.JPG

Rear quarter following a single stage machine polish.  

IMG_1698.JPG

50/50  

IMG_1699.JPG

End result showing the vast improvement made and complete removal of swirls and minor defects.  

IMG_1701.JPG

Rear light clusters showing heavy swirling  

IMG_1702.JPG

Improvement made to the rear light clusters following a light machine polish.  

IMG_1703.JPG

Gloss black A Pillars notoriously soft following a light machine polish removing 80% of defects without inflicting micro marring. 

IMG_1510.JPG

Engine bay before  

IMG_1709.JPG

Engine bay after  

IMG_1710.JPG

The end result. Following my Enhancement Detail finished with Total Surface Protection 

IMG_1706.JPG

The end result. Following my Enhancement Detail finished with Total Surface Protection

IMG_1708.JPG

The end result. Following my Enhancement Detail finished with Total Surface Protection

IMG_1704.JPG

The end result. Following my Enhancement Detail finished with Total Surface Protection

The end result. Following my Enhancement Detail finished with Total Surface Protection

The end result. Following my Enhancement Detail finished with Total Surface Protection

IMG_1705.JPG

The end result. Following my Enhancement Detail finished with Total Surface Protection

Toyota GT86

Enhancement Detail

After recently purchasing this three year old example the client approached me to enquire about what could be done with the paintwork to bring it back to life. After an initial consultation the car was booked in for an enhancement detail and ceramic coatings were bolted on for optimum protection. The car was with me for three days, during which it received a throrough mutli decontamination including the engine bay. This process is designed to remove years of bonded contamination and go to lengths that many others don't when cleaning their car including removing wheels and degreasing door shuts and arches. Once the car was thoroughly decontaminated it received a single stage machine polish via my enhancement detail designed to remove more than 85% of the defects found on the vehicle which in this case were overspray and blend lines, heavy marring and swirls including the odd RDS (real deep scratches).  After spending just over a day machine polishing the car was wiped down and final checks completed prior to application of ceramic coatings. Coatings were then applied to the glass, wheels and paint offering over two years hassle free protection and marvellous water behaviour! The interior received a deep clean, carpets shampooed and seats gently cleaned ensuring the alcantara wasn't damaged. Interior glass and plastics were wiped down and the leather steering wheel decreased before applying a protective coating to the fabrics. 

Another overwhelmed client stunned at the results and another client signed up to my maintenance plan. Please see the pictures below too see the work undertaken and the stunning results! 

Car Upon Arrival at HQ.  

Car Upon Arrival at HQ.  

IMG_0944.JPG

Car snow foamed as part of the decontamination process. 

Car snow foamed as part of the decontamination process.

Car snow foamed as part of the decontamination process.

IMG_0947.JPG

Arches deep cleaned and degreased .  

IMG_0948.JPG

Clay mitt used as part of the multi stage decontamination process to extract bonded contamination.  

IMG_0950.JPG

Wheels removed for deep cleaning.  

IMG_0951.JPG

Paint inspection and depth readings taken.  

IMG_0952.JPG

Paint inspection and depth readings taken.  

IMG_0953.JPG

Spoiler after a single stage machine polish  

IMG_0954.JPG

Rear bumper corner before  

IMG_0955.JPG

Rear bumper corner after  

IMG_0959.JPG

A Pillar before  

IMG_0960.JPG

A Pillar after  

IMG_0961.JPG

C Pillar 50/50

IMG_0962.JPG

Rear quarter 50/50

IMG_0963.JPG

Offside door and lower sill 50/50 following a single stage machine polish. 

IMG_0964.JPG

Door 50/50  

IMG_0967.JPG

 Deep Scratch on the door before. 

IMG_0968.JPG

Deep scratch on the door after  

Gtechniq C5 Allow Wheel costing applied offering 24 Months + Protection  

Gtechniq C5 Allow Wheel costing applied offering 24 Months + Protection  

Gyeon Q2 MOHS Ceramic coating applied to the bodywork

Gyeon Q2 MOHS Ceramic coating applied to the bodywork

IMG_0981.JPG

Enhancement Detail Complete  

IMG_0974.JPG

Enhancement Detail Complete  

IMG_0975.JPG

Enhancement Detail Complete  

IMG_0976.JPG

Enhancement Detail Complete  

IMG_0978.JPG

Enhancement Detail Complete  

IMG_0979.JPG

Enhancement Detail Complete  

IMG_0973.JPG

Enhancement Detail Complete  

Enhancement Detail Complete  

Enhancement Detail Complete  

IMG_0972.JPG

Enhancement Detail Complete  

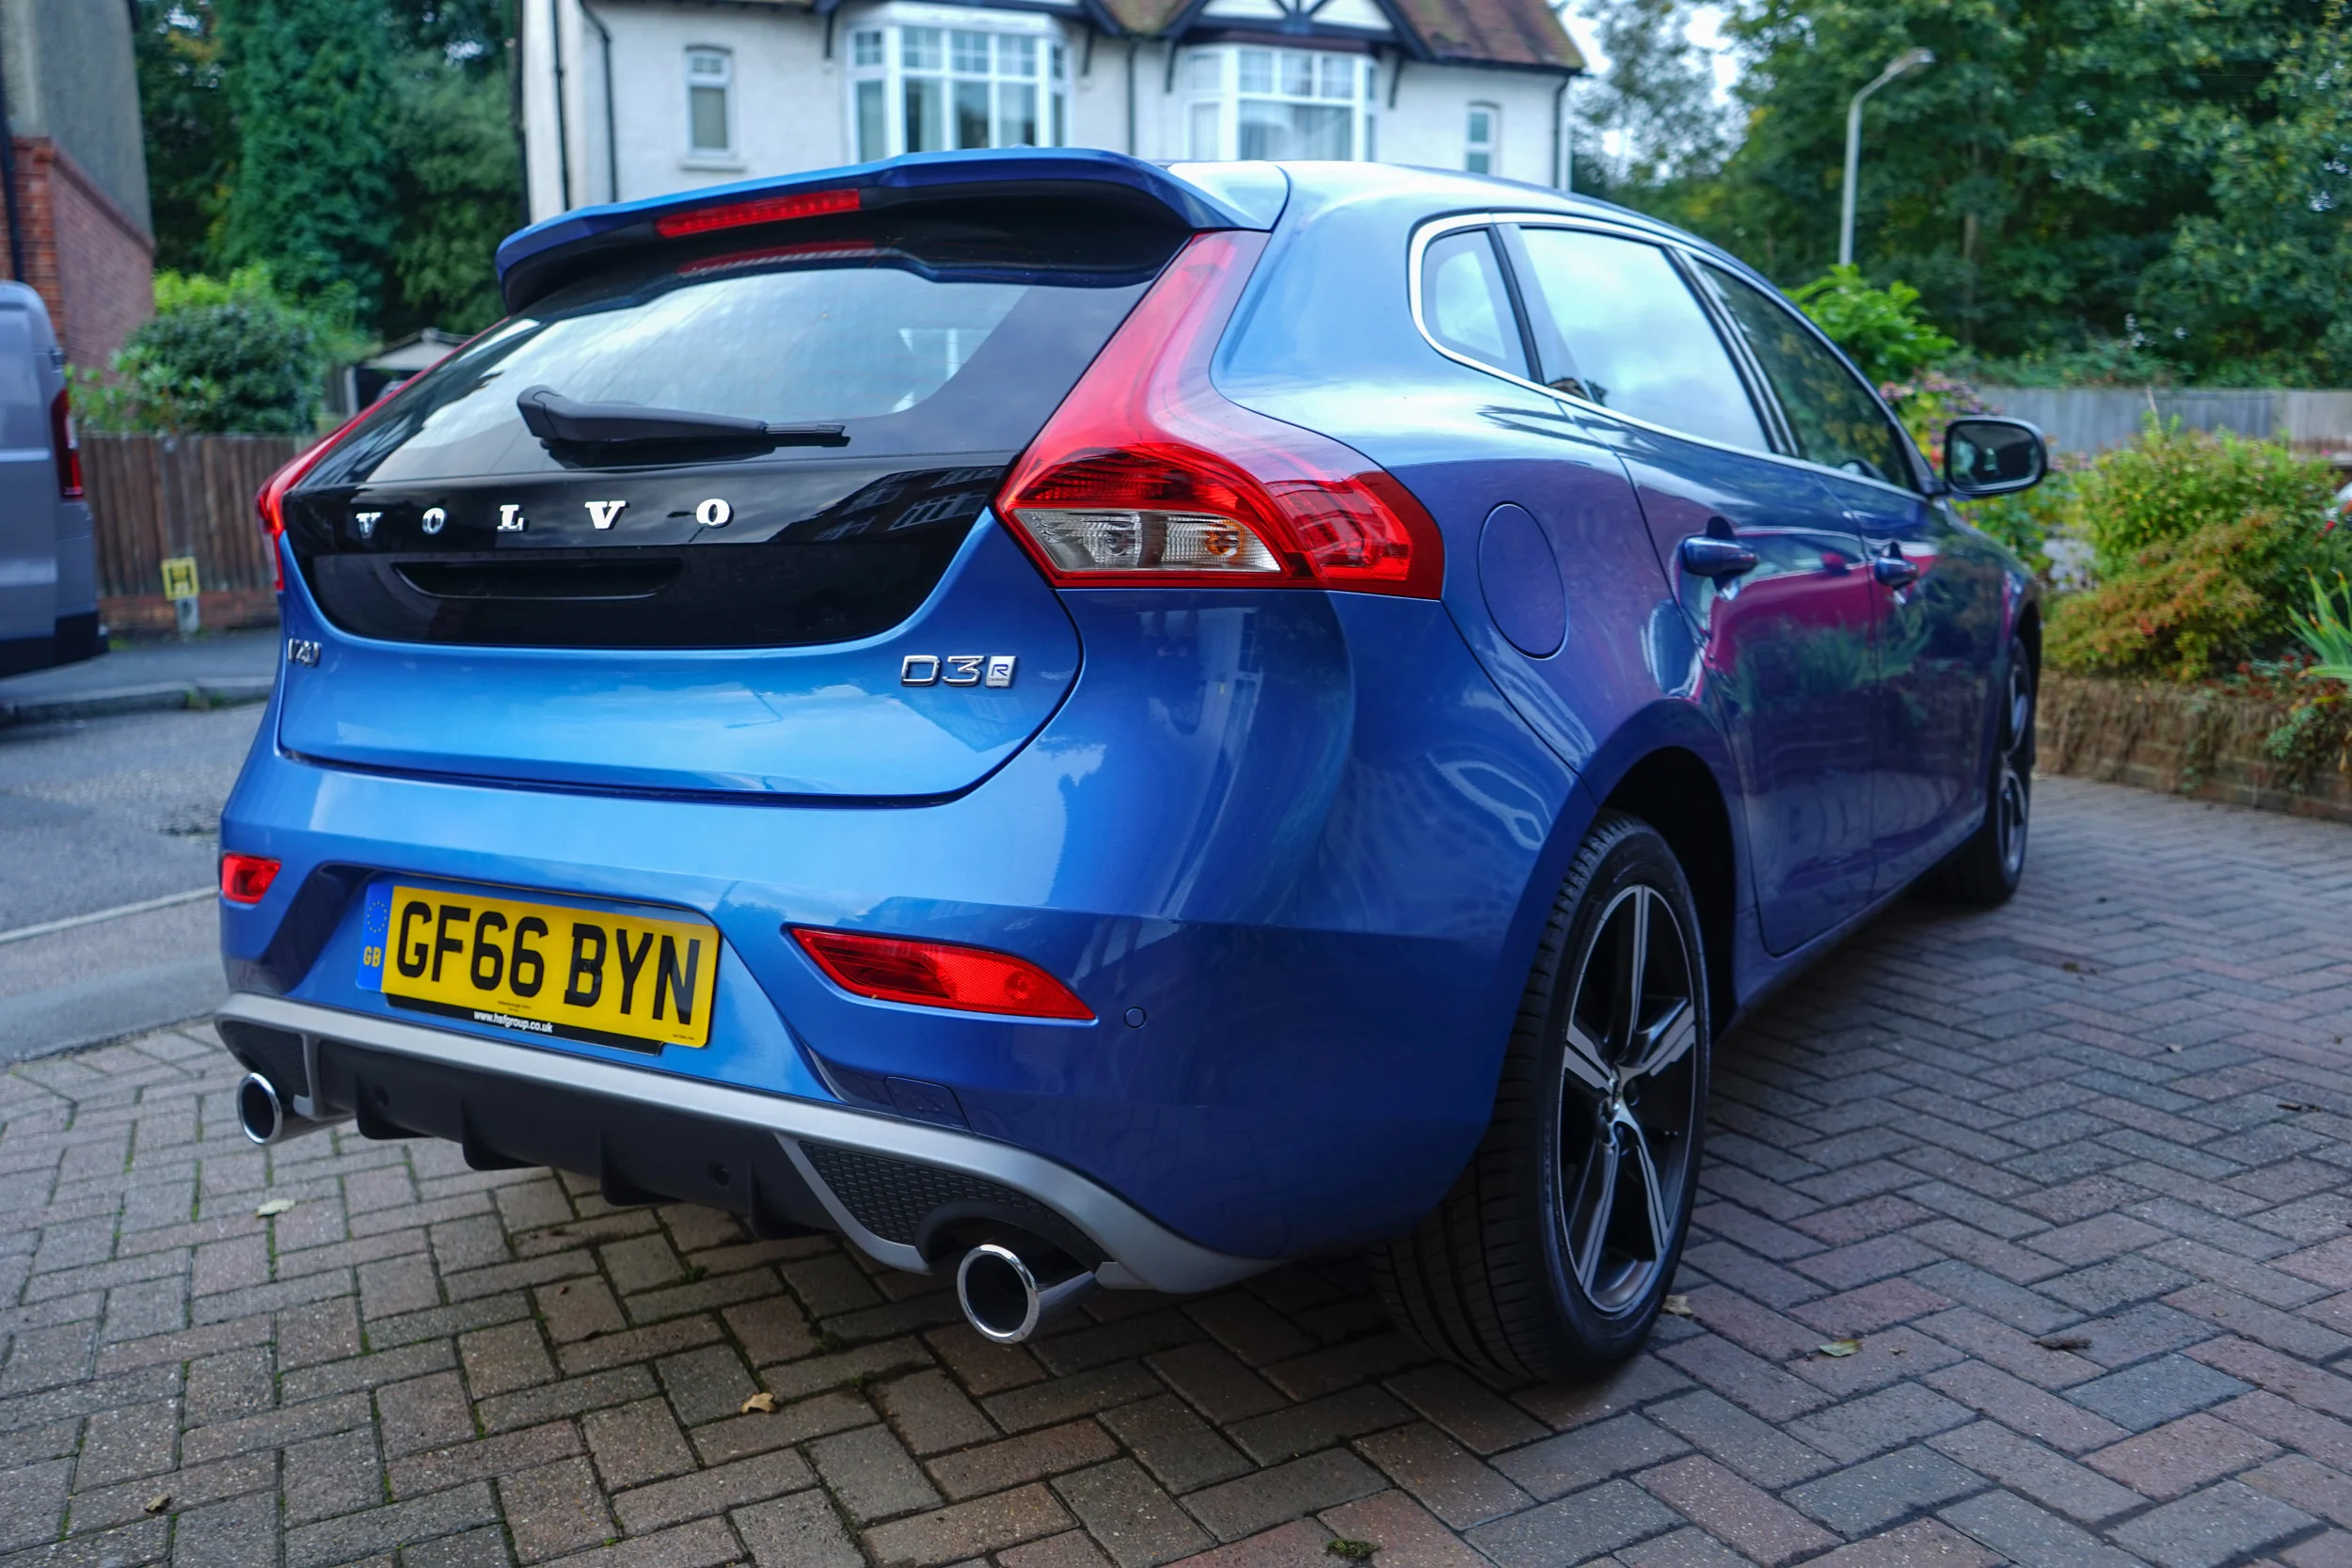
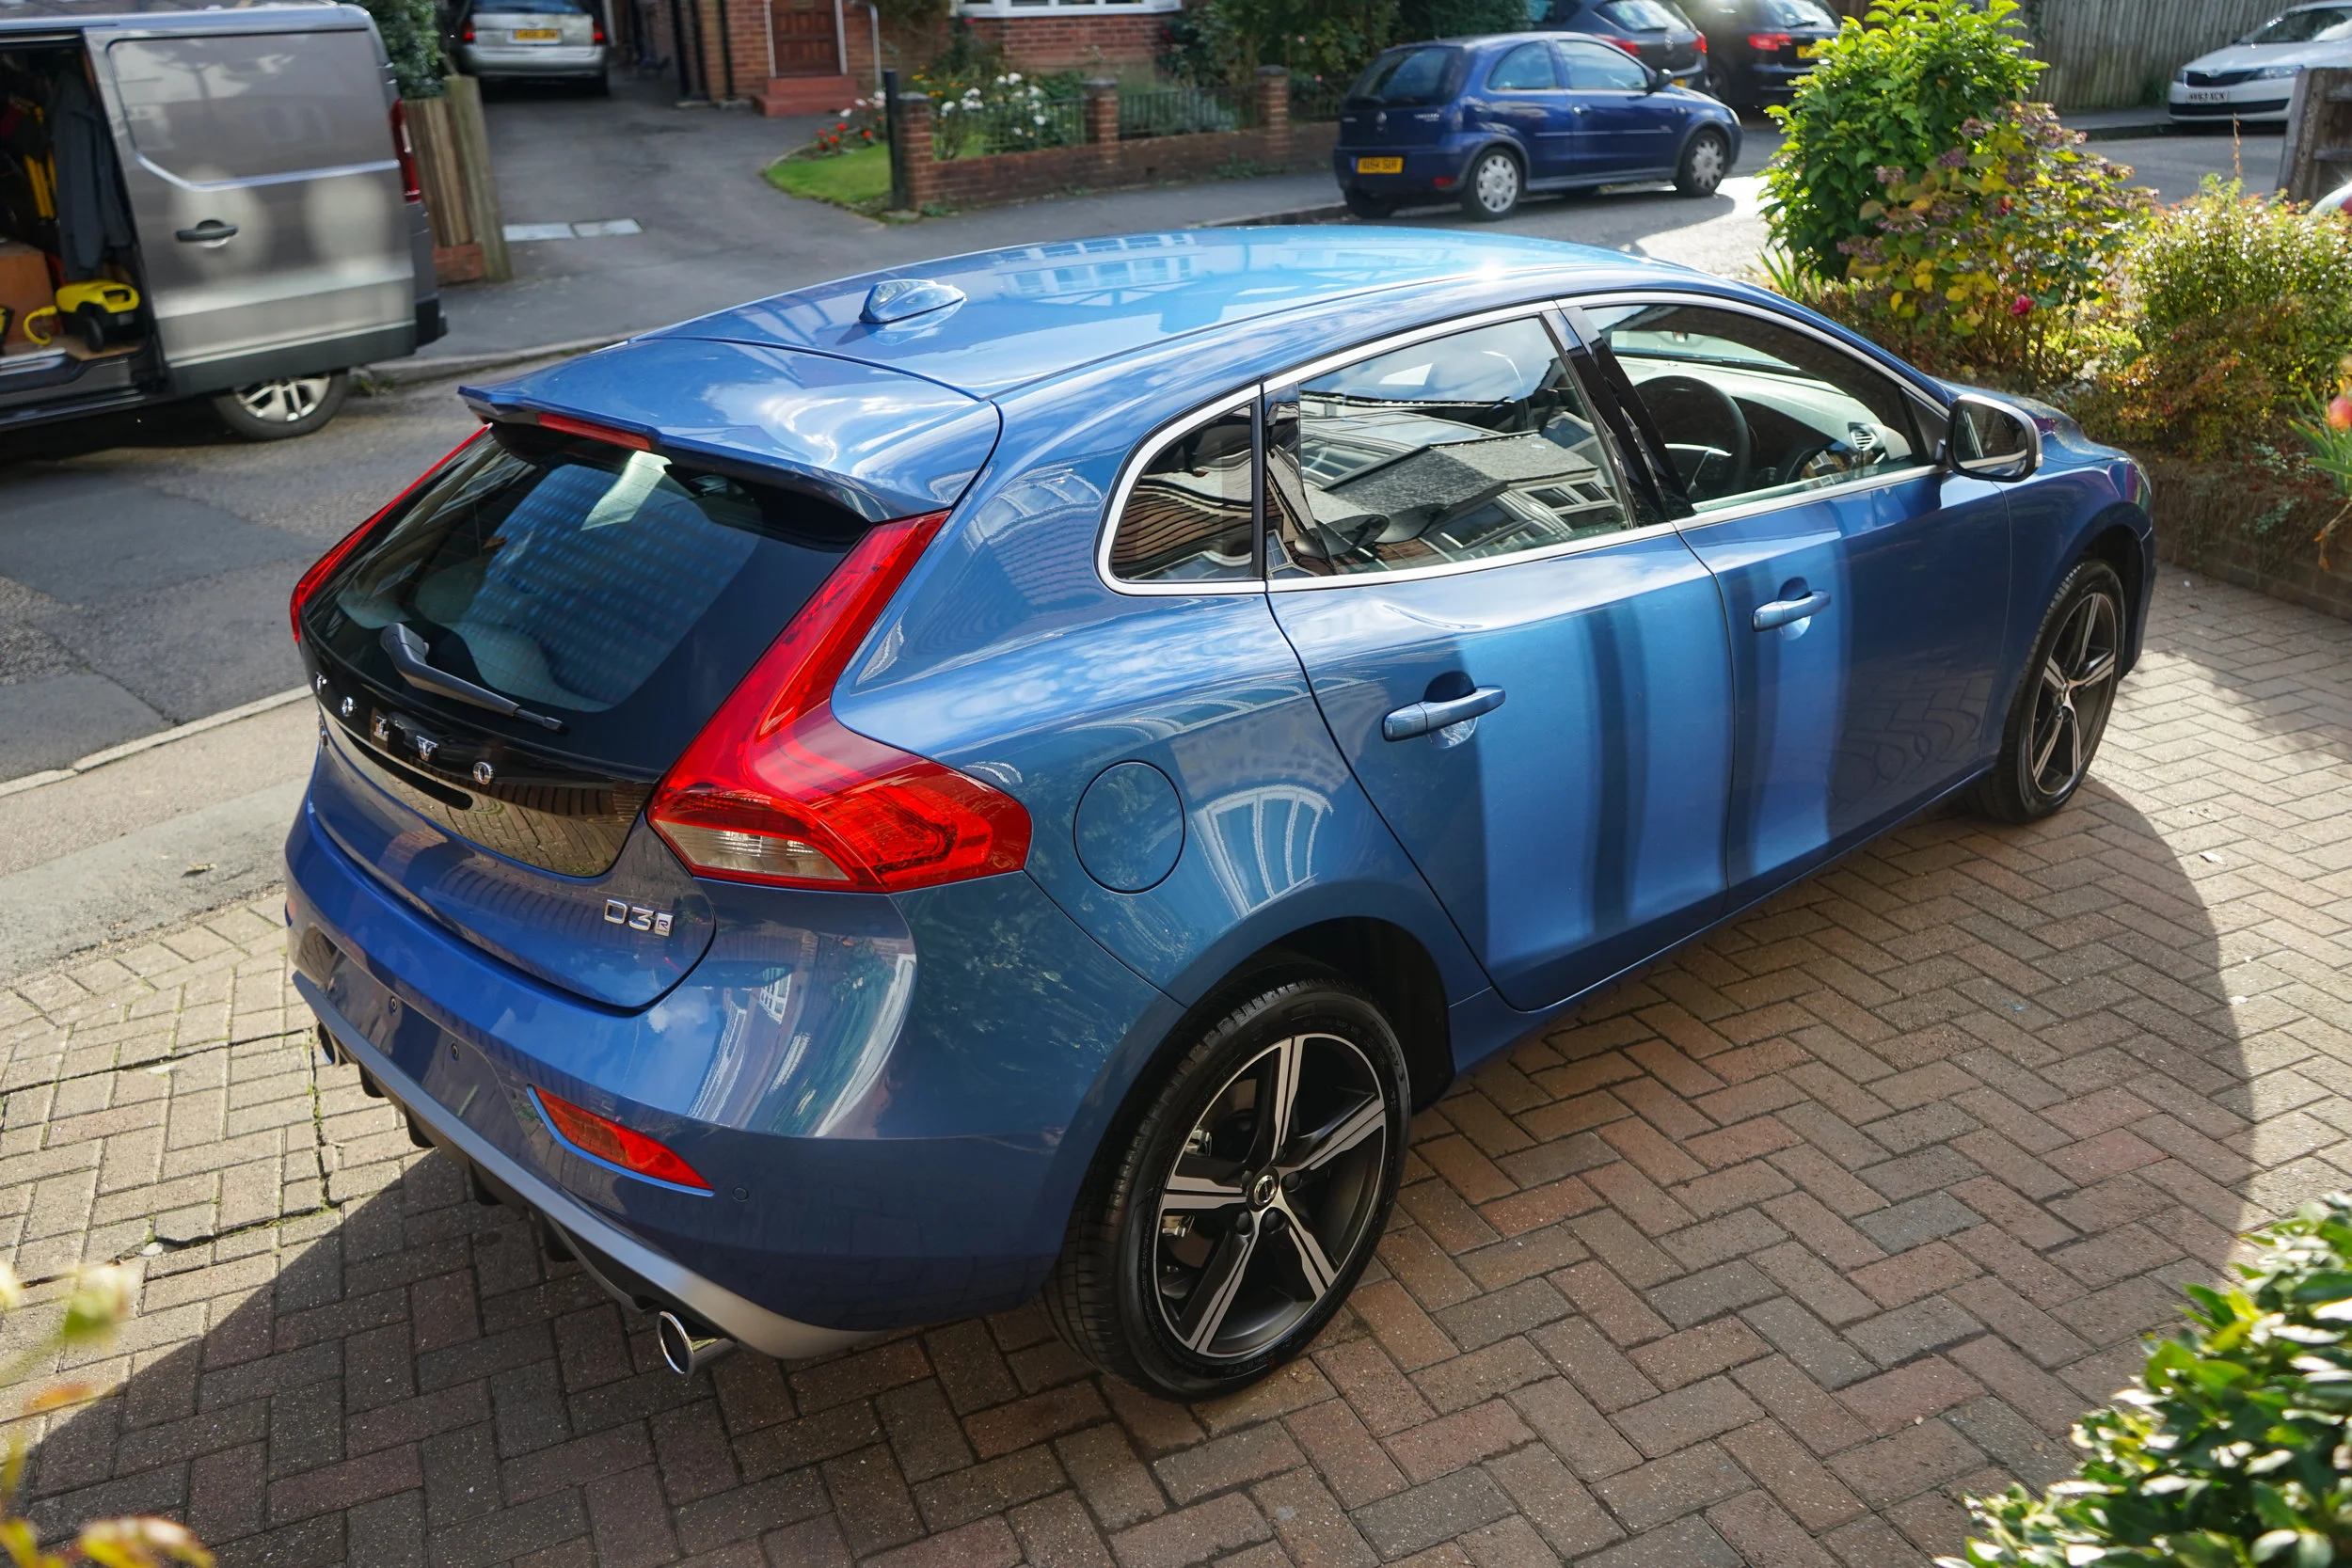
Volvo V40 D3 R-Design

New Car Protection

Never really having dealt with any kind of Volvo be it owning, detailing or through friends I have very little to say about them. Aesthetically Volvo's have come on an incredibly long way, When someone says Volvo I instantly think of the huge Volvo 200 Series which it seems now is only owned by people who move dead bodies for a living...

Not only is this V40 R Design rather aesthetically pleasing its also incredibly well specced and impressively finished by the Swede's. In bursting blue this one was fresh from the dealership, wrap removed by Volvo but they were under strict instructions not to prep or valet it prior to collection. Unfortunately they did wipe it so I was expecting to find much worse defects than I did. The salesman seemed rather pleased with himself that he hadn't just let the customer turn up to a dirty car when in actual fact I was just about to ready to lynch him. Anyhow whats done is done, collection was complete and the car was instantly handed over. 

Even though its new, as you all know by now every car is contaminated be it new or old so first up was the multi stage decontamination process. I tend not to clay new cars, some I do only if they have come off transit absolutely caked but this certainly didn't require it. The reason being is as we all know clay barring inflicts marring thus creating more work for me so certainly something to avoid if you can. No tar present at all so snowfoamed, washed, fallout remover applied then rinsed off. Prior to this wheels, engine bay and arches were all degreased and rinsed off. Safely dried using two Auto finesse aqua deluxe towels the car was then taped up and inspected. Even though the salesman at Volvo thought he was helping by wiping the car prior to pick up, I was pleasantly surprised to discover very few defects at all, so the car received a single stage machine polish to enhance gloss, localised correction to the bonnet to lift a small scratch before wiping down and final check in the sun.

Now the paintwork was at the desired finish all surfaces were coated and protected. Wheels were sealed with G-Techniq C5 Alloy Wheel Armour offering 2 Years ceramic protection, this heat resistant coating was also applied to the exhaust tips to prolong their appearance. Glass was sealed with G-Techniq G1 and paintwork with Polish Angel Cosmic V2. Last but not least the plastics and trims were sealed and protected against UV with G-Techniq C4. Onto the inside, the half leather half alcantara seats were sealed with G-Techniq L1 and Smart Fabric and Dash prepped with G-Techniq Matte Dash.

Another new car treated to the highest level of automotive care and protection to ensure the best possible start in life. This car will be regular maintained by me as the owner has opted to maintain the vehicle with my TLC Package. 

F10 BMW M5

New Car Protection

Now in its fifth generation, the BMW M5 Saloon still embodies pure athleticism. Uncompromising performance places it convincingly at the top of its class as it masters every challenge. When the BMW M TwinPower Turbo eight-cylinder petrol engine and the high-performance suspension show their true character, it’s soon apparent that this is a saloon that bears motorsport genes.

Thats what BMW say. What do I say? What a weapon!

The understated M5 can very often easily go under the radar. I wouldn't say its anywhere near as lary aesthetically as its competitor the RS6. However, what it lacks in looks it makes up for in pure M Pedigree. A BMW M Power Enthusiast myself im bias so if your not into your BMW's then stop reading now because this write up will just be a load of waffle about me declaring my undying love for M Power BMW's. The owner of this stunning Singapore grey example got in touch in very short notice about having some work carried out, obviously my new car protection package suited his and the cars requirements most however as it was short notice I was unable to make any arrangements with the dealership on behalf of the client to ensure that BMW left the car untouched, you can guess whats coming next. 

Collected from the dealer late Friday night and delivered early Saturday morning the owner wanted to ensure this M5 was given the best possible start in life at the earliest opportunity. As mentioned unfortunately the dealer had already prepared the car for my client so it arrived at the unit looking "clean". Set up, and earphones decontamination got underway. I started with a nice thick layer of snow foam to lift all loose dirt and surface grime. I then moved onto the wheels, Fallout remover applied, dwelled, agitated and rinsed to remove light brake dusting and fallout. Arches cleaned with APC rinsed before moving onto the engine bay. Obviously being brand new there was very little work needed her, light dusting from transportation found along the shuts, and a few rogue foreign bodies found in the drainage galleys. 

Once all the grubby areas had been tended to I rinsed the car off again with another later of snow foam and moved onto the wash stages. Two buckets as always and the new Adams wash mitt the car was given a thorough was reaching all the places the BMW dont and then it was onto Fallout remover and clay. Once decontaminated to my satisfaction the car was rinsed off again and dried using a Metro Vac Master Blaster and Auto Finesse Aqua Deluxe Towels to ensure safe drying and no further swirling or marring was inflicted. Moved inside, shutter down it was time to warm the toes and tape up. Im sure someone should run Taping classes because there really is an art to it. Ive seen some shocking attempts at taping up, its a very important stage. As they say its all in the preperation!

Fortunately not too much to tape up meaning I managed to quite quickly move onto the inspection stages during which paint depth readings were taken in the region of 160 Microns I was fairly comfortable with the readings but not with what I was seeing. Ill let the photos do the talking. Unfortunately my new Sony A7 camera doesn't allow for the full damage to be shown in photos due to its lack of manual focus (Soon to be traded back in) so i had to do a few videos of which unfortunately I can't share on here but please head over to my Instagram to see these. I spent around 17 Hours polishing and refining the Singapore Grey paint to finish it to what I deem as an acceptable finish. Untaped, wiped down and various lighting shone around the car I was happy with the results and it was time to apply Polish Angel Cosmic to seal and protect the paint on this M5. Two layers were applied three hours apart to ensure the coating provides the optimum level of protection for the full recommended life of the coating. Whilst the first coat on the paint was curing I moved onto sealing the wheels with G-Techniq C5 Alloy Wheel Armour and the Glass with G-Techniq G1. Final coat of Polish Angel Cosmic Glasscoat applied, the tyres were dressed, Exhausts polished and sealed and engine bay dresssed the end was in sight. 

Onto the interior and ill let you make your own judgement. Those matts certainly are marmite. In person they look much, much better. The carpets were sealed with G-Techniq Smart Fabric and Leather guarded with G-Techniq L1, Screen and Dials wiped she was nearly ready for handover. Final inspection and walk around with the client the keys were handed back and another BMW complete and out the doors of Detail Driven. 

Please take the time to look through the pictures, learn that you should never let a dealership touch your car and get in contact if your interested, alternatively head over to my New Car Protection page and book yours in now!

BMW M135i

Enhancement Detail - Total Surface Protection

 The BMW M135i to most probably looks like a standard one series, it's not the most lary looking hot hatch but to the trained eye or any enthusiast it's certainly far from any normal one series. Under the bonnet is a three litre straight six engine with an additional twin scroll turbo which combined packs a punch of 320BHP. Not that normal little on series any more is it?

This particular M135i is owned by a soldier and it is his pride and joy. A little toy for the time he spends at home he wanted his pocket rocket looking its finest and booked it in with me after seeing my recent post about the Estoril Blue BMW 435D Gran Coupe I detailed a few months back. He wanted his to bounce with gloss and be rich in clarity as such booked it in with me to receive and Enhancement Detail along with my Total Surface Protection bolt on for the ultimate protection.

Over a 200 Mile round trip It was an early start, I travelled up to Oxford to Detail this little beauty leaving nice and early to get a good days work in. First up was a good deep clean, pulling cobwebs, dirt, leaves, grease and grime out of the engine bay, door and boot jams and then the arches. Meguiars Super Degreaser was the perfect product for the job breaking down the dirt and grime with ease. I then moved on to decontaminating the wheels. Bit Hamber Korrosol was applied liberally and let to soak. Using a variety of brushes and techniques this was agitated around the wheel to break down brake dust and fall out that had built up in the spokes and crevices of the alloy. The next step was to lay down a thick layer of snow foam, left to dwell and then rinsed. This ensures that the paintwork was free of loose dirt which helps prevent further damage when washing as I won't be dragging the loose dirt around the paint. Out came the trusty buckets and my nice big fluffy wash pad. Now the car had been safely washed it was time to decontaminate the paint. First up Bilt Hamber Korrosol was now applied to the paint and left to dwell then rinsed, then the exterior dried. Why dry it now? For tar remover to work effectively the paint needs to be dry, it does work wet but is 10x more effective when dry and quicker! Tar remover applied, dwelled and rinsed then finally the paint and glass were clayed using a clay mitt. 

Now the car is clean and decontaminated and safely dried its time to tape up and prepare for depth readings and inspection before the polishing stages. I work around the car methodically taking paint depth readings to ensure all panels have safe levels of paintwork on them to ensure the polishing can be performed safely. Readings taken and recorded I began testing on the bonnet trying a variety of pads and polishes to see which achieve the desired result. Taped up, Earphones in and Polisher on I worked around the car performing a single stage machine polish lifting light defects from the paint and restoring depth and clarity to the clear coat. After successfully lifting 90% of the defects from the clear coat leaving the odd RDS (Really Deep Scratch) behind due to it being an enhancement and not full correction. After the polishing stages were completed the paintwork was inspected using another pair of eyes (the mrs) and mine with a Sun Gun Torch which will pretty much find anything you can't.  

Happy with the results it was time to seal that finish in with the first part of my Total Surface Protection. Polish Angel Cosmic always looks stunning on German Paintwork so I decided this would suit best, the paintwork was prepped with Polish Angel Primer which contains compounds that are crucial to the bonding process of Cosmic and ensure it bonds properly to the surface of the paint. Now the paintwork was properly prepared I started applying the coating, once applied it was then layered to ensure optimum levels of protection and ensure durability. While these layers were curing I moved onto the wheels, applying two layers of Gtechniq C5 Alloy Wheel Armour and Gtechniq G1 to the glass. With the exterior coatings complete it was time to move onto the finer details. Firstly giving the exhaust a good polish to remove soot and coking, unfortunately the tips of these exhausts had perished so they were not immaculate but im sure you will agree a vast improvement was achieved. Once cleaned and polished the Tips were sealed with Gtechniq C5 which is also a heat resistant coating so can be used on the exhausts as well as the wheels. Next up is rubber and plastic trims, sealed with Gtechniq C4 and Tyres dressed with the only tyre shine that should be used, Meguiars Endurance Tyre Gel. 

The exterior complete it was time to move inside. Matts removed, hoovered and wet vac'd to remove stains and soiling, especially from the drivers matt. While they were drying I hoovered the interior lifting loose dirt in order to clean and coat all interior surfaces. Using Auto Finesse Leather cleaner and a leather brush I agitated the product to lift several years of embedded dirt from the leather pores. Once the leather was properly cleaned it was protected with Gtechniq L1 along with the Matts protected with Smart Fabric adding hydrophobic properties to the fabric. 

Onto the last part of the Total Surface protection, Sealing the engine bay. Trying out a new product on this M135i, Koch Chemie Nano Plast Care, This product forms a highly durable chemical bond with the surface and restores a satin black finish to the plastic and protects it form further deterioration. I was highly impressed with the product and it'll certainly be used again. 

The owner was blown away with the end result, commenting how he wasn't expecting such high levels of attention to detail, another transformation complete. Next!

Ford Escort Cosworth Monte Carlo Edition

Enhancement Detail (Total Surface Protection Bolt On)

Quite possibly the rarest car I've ever worked on. Like rocking horse stuff some may say. Any enthusiast knows that Escort Cosworth's are getting rarer by the day. Well good luck finding another one of these, Not only is it a Cossie, Its a Monte Carlo Edition and better than that Its a Factory tuned Brooklyn edition! So essentially its extinct. 

So as I'm essentially Detailing a Dinosaur I knew that this one had to be ultra special. As always up first was the decontamination stages. Trying out some new foam currently, Bilt Hamber Auto Foam. Its cleaning properties are fantastic, not as thick as I like but i guess the thickness is just a party piece and its the cleaning part that really matters. Using the foam i worked around the shuts, jams and cracks then left it to dwell for a few minuets before rinsing it off. Doing things a little differently on this detail, the wheels were coming off as the design of the wheel prevented proper access to the dishes. So I just rinsed the wheels off before moving on. 

Once rinsed down I used some APC in some areas where the snow foam hadn't lifted the dirt. Then moved onto the washing stages. Using my new Adams Wash Pad and the trusty two bucket method the exterior was safely washed and ready for decontamination. Everyone does the decon stages in a different order, I like to start with Fallout, then tar then clay. I Clayed the car with a clay mitt, these mitts really are far better than any bar, they are just as aggressive when needed to extract stubborn contaminate while also being safe and gentle on the paintwork and 10x faster! 

The intial cleaning stages and decontamination are always the grubby bits so it's nice to get them out the way. Decontaminated it was time to move the car inside as unfortunately I spent the first three hours cleaning this beast in the rain so I moved it inside to dry it down using various towels and a metro vac master blaster. The reason I use the metro vac at this stage is to ensure all the water is removed from window shuts, under the mirrors etc so that when I'm taping up I don't get water runs and water affecting the performance of the tape. I always get asked what the tapes for, for the less avid enthusiasts the purpose of the tape has two reasons. The first is to stop the abrasives in the polishes diminishing the appearance of rubbers, plastics and trim and also to prevent the white staining that is often left on plastics when polishing. The second reason is to prevent damage by the polisher when running along panel edges. Quite often the bottom of doors curve in meaning when the polisher follows the curvature of the door the backing plate on the polisher could come into contact with the lower trim causing damage. By laying down two layers of tape you prevent this damage and enable safe polishing. 

Time to inspect and take paint readings. The first thing I noticed was the marring caused by the claying process leading me to believe the paint was extremely soft in areas. Readings were fine throughout, maybe a little thin on the wings but that's often to be expected.  The car in general wasn't too bad for any heavy defects, more a case of lots of swirling and marring. Readings recorded it was time to start polishing. The polishing stages were fairly straight forward on this apart from the rear spoiler which was Rock hard so took a little bit of work to correct despite it being fiddly as hell. 

I spent around 19 hours polishing to reach the desired level of Enhancememt. Once polishing stages were completely the paint had a full wipe down with Car Peo Eraser in prep for the ceramic coatings. I opted for Car Pro C Quartz again on this Cosworth. Two coats were applied, inbetweeen the layers I applied G1 And G2 glass coatings to all exterior glass and coated the wheels in C5 alloy wheel armour. The finishing stages on this Monte were very fiddly, lots of little touches added like the morrette headlights, bonnet vents and engine bay. The list of finishing touches are endless and you could go on for ever but to give you an idea, dressing rubbers, polishing metals, dressing tyres and arches, adjusting wheel centre caps, cleaning locks and the key, dressing the engine bay and the list goes on. After I'd spent all afternoon finishing up the interior had a good Hoover and wipe down. The cloth was a pleasure to see and these kind of cars are so barely used that the interiors are a pleasure to do. One last touch was so seal the matts with a fabric coating to prevent any future staining. 

The car was rolled outside for final inspections and photos and I'll let the photos below do all the talking. I'm pleased to report that since completing this detail I've had another Monte owner get in touch and book his in for the same treatment, watch this space! 

Porsche Cayman R

Protection Detail

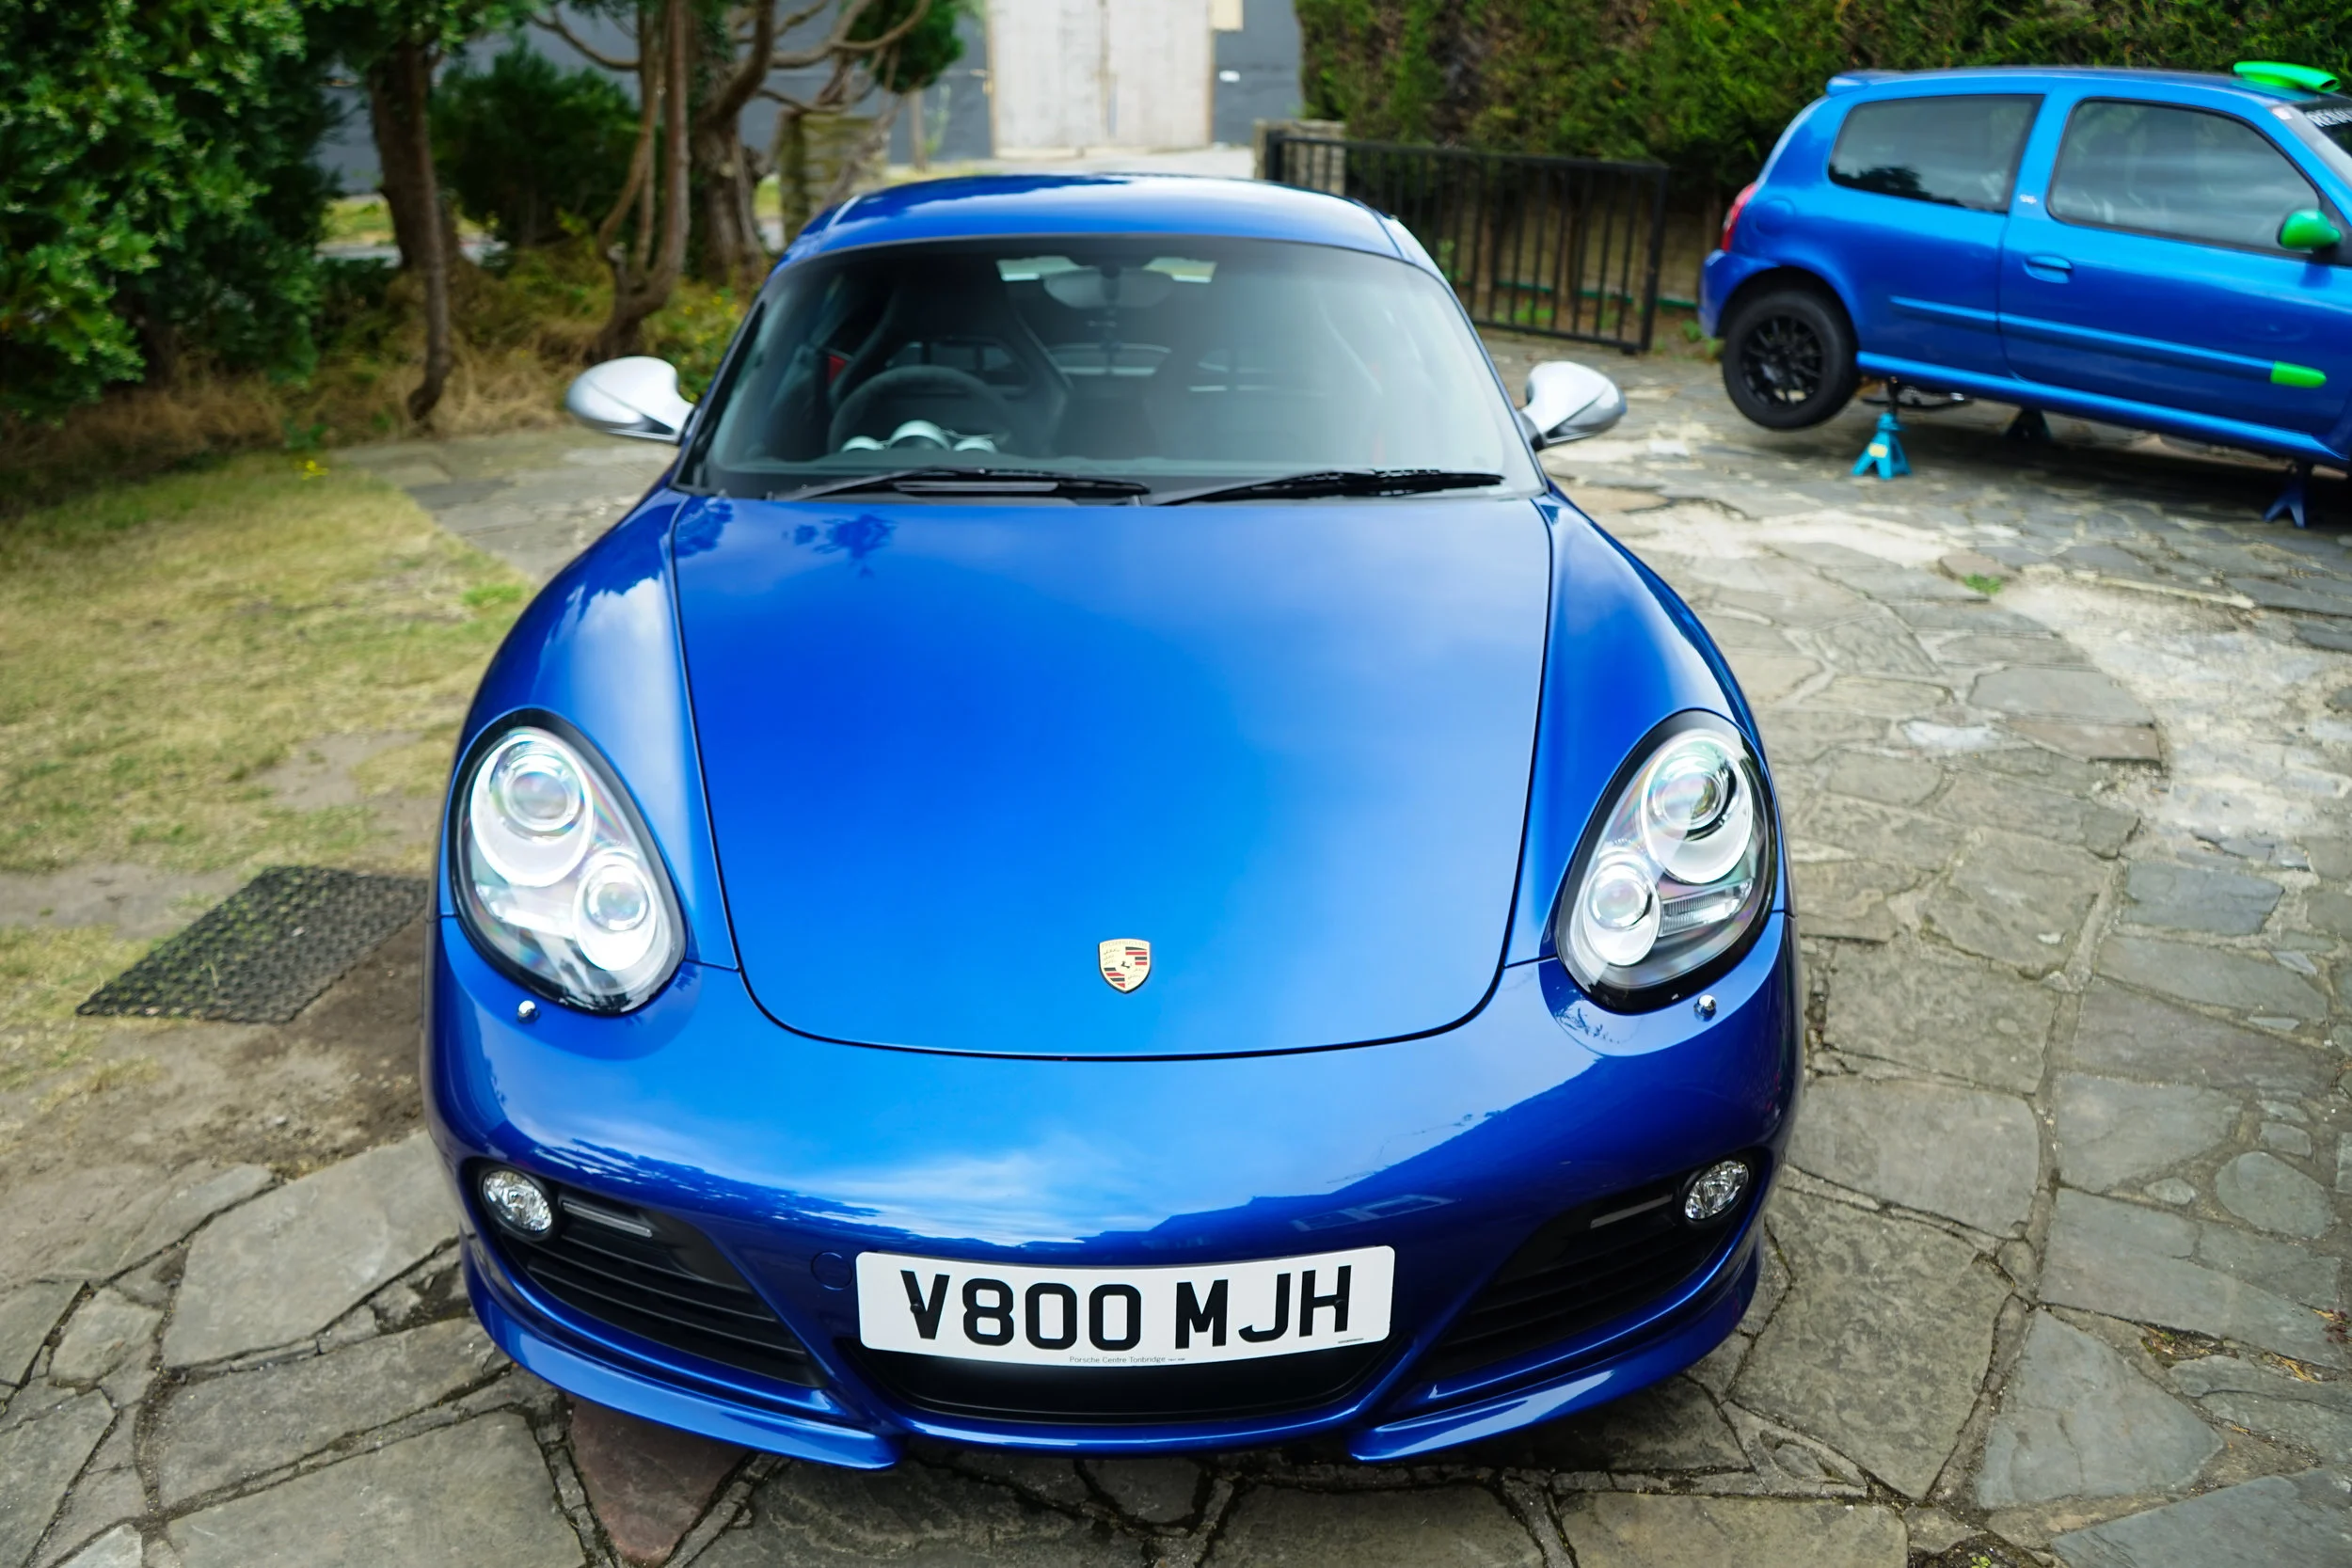
Ive never had the opportunity to get up close and personal with a Porsche Cayman let alone its rarer brother the Cayman R! The Cayman R was always designed to be a road legal track equipped toy for the enthusiast. It certainly looks the part and sounds it but unfortunately due to such few build numbers they are a rare little beast and one to be treasured! 

This particular example is used as a weekend toy and this is clearly visible from the build up of green substances in and around the crevices and shuts. The owner was looking for a good freshen up, adding some protection for the soon coming winter months and restore some life back into this little weapon! It was agreed that a protection detail suited the needs of the client. I spent roughly a day working on the car starting with a deep clean and decontamination to remove months of grime and dirt build up that had gathered in all the window sills, shuts, engine bay and around the door jams. Using a variety of methods, products and tools all this grim was safely removed, Wheels deep cleaned including Tar and Fallout removal. I then moved onto the overall condition of the car, laying down a layer of snow foam, left to dwell then rinsed. The car then went through the washing and decontamination stages, TRF and Clayed to ensure the paintwork was decontaminated in preparation for hand polishing and protection.

Auto Finesse Illusion and Desire were layered to offer maximum levels of protection via a Carnauba wax. Adding extreme levels of gloss and colour depth this combination really packs a punch on colours like this.Trims were dressed, glass cleaned and exhausts polished all the finishing touches added to the exterior before sealing the wheels with Auto Finesse mint rims to complete the exterior. I used Car Pro Perl to dress the plastics, rubbers and tyres before moving onto the interior. As this little gem sees such light use the interior was a fairly easy job, the loose dirt was hoovered up, a few marks removed from the matts and then the interior wiped down and leather cleaned. 

All finished just in time for the summer sun to make an appearance and show off the metallic flake in the stunning Aqua blue paint.

Audi RS6

Enhancement Detail - Ceramic Bolt On

An Audi RS6 is a truly versatile car and this was a true example of what they can do. On one hand an absolute powerhouse ready to be driven hard, on the other hand a great family car. This one clearly is used for both and in the last few months had been down to Italy and back and hadn't seen a soap sud in over 3,000 miles. It was long overdue a good clean and the owner was keen to have it looking its best again.

The owner got in contact primarily to book the car in for Ceramic coatings, after some discussion and a little education we discussed and explained why the car would benefit from an enhancement detail prior to the application of coatings and the customer agreed. Upon arrival it was clear why the owner was so keen to have the car done. 3,000 miles and all four seasons of dirt - This RS6 certainly needed some TLC and I was just the man for the job. 

Starting with the all important snow foam, nice an thick to drag off as much of the surface dirt and grime as possible. While it was dwelling I went round the creases and cracks with a Hog hair brush to agitate the snow foam into the sitting dirt and lift months of grime. After a few minutes dwelling the car was rinsed down and I moved onto the wheels. Oh the joys of ceramic brakes! Now a note to all owners with ceramic brakes, you have to be extremely careful with what products you use and if you have any questions please get in touch and ill be happy to advise but its strongly advised that you dont use normal wheel cleaners! Wheels deep cleaned I moved not the arches and slowly worked my way around the car. Once the wheels, arches and shuts had been deep cleaned and degreased I moved onto the engine bay and did the same here. After about two hours meticulously cleaning and degreasing the grubby parts the car was rinsed down again and ready to be washed. 

The all important two bucket method was used with grit guards in place and a nice soft lambswool wash mitt. I worked my way around the car starting from the top carefully removing months of dirt, salt and grime to reveal that stunning Midnight Blue Metallic Paint. Once safely washed the car was rinsed again and I liberally applied a later of Car Pro Iron X to remove Iron fall out and other contaminants. Left to dwell and rinsed the car was then dried for application of tar remover. Once the TFR stages were complete the car was clayed with a clay mitt and then safely dried with a variety of towels and a Metro Vac Master Blaster.

Now the car was ready to be taped up and inspected. All plastics, rubbers and delicate trims were taped prior to polishing to prevent them being damaged during the polishing stages. Paint depth readings were taken and the lights were switched on. The owner was fully aware of the damage that Hand car washes can do so fortunately the car had never been near one, It had seen one or two dealer washes and that was about it since new which to be honest was probably a blessing in disguise as the paint really wasn't too bad. Dont get me wrong it was far from perfect but given the mileage and the fact the car was nearly a year old it could certainly have been worse. I completed a few tests with various pads and polishing combo's and found the optimum choice and began enhancing the paint to remove light swirls and defects from the paintwork. In total I spent around 15 Hours polishing meticulously lifting as many defects as I could with a single stage machine polish. Once the polishing stages were complete, tape was removed and further readings were taken. The car was then wiped down twice with Car Pro eraser, Glass polished, Exhausts Polished and all surfaces prepared for coatings. 

Car Pro C Quartz UK was the ceramic coating I had chosen to add durable, hard and extremely glossy finish to the lovely Midnight Blue paint. G-Techniq alloy wheel armour was used on the wheels and a product I've not used before for the glass, Car Pro Flybe. All coatings were layered twice to ensure optimum protection and left to cure in appropriate conditions to ensure safe bonding. 

While the coatings were curing I moved onto protecting the exhaust with G-Techniq C4, The engine bay with Aerospace 303 and completing all the finishing touches on the exterior. It was then onto a deep clean of the interior. Firstly the interior was hoovered to lift loose dirt and grime. The leather was then deep cleaned with Dr Leather Leather Cleaner and agitated into the pores of the leather with a  small leather brush. Once the leathers were cleaned they were conditioned with Auto Finesse Leather conditioner restoring a lovely fresh finish to the leather and the all important leather smell. Plastics, Rubbers and Fabrics were wiped down and cleaned and the interior was complete. 

The car was then moved out into the sun for final checks and wipe down before photos and handover. Another extremely satisfying detail, Admittedly two long days and a late finish but the end result is always worth it!

BMW 435D Gran Coupe X-Drive

New Car Protection Detail

Picking up your new car should be a happy and special occasion. Referred to me directly by the local BMW main dealer after the customer enquired about application of coatings to the car. I advised BMW strictly not to touch the car before handover to the customer and explained to the customer why. This meant that when collecting, the car was far from clean and I fear a little to my clients disappointment. However it was all for good reason!

I arrived at the clients house the day after collection and the photos below from before speak for themselves in terms of the level of dirt and grime that can build up during transportation and prior to your collection. 

Two days work ahead of me first things first was to remove as much of the surface dirt and grime before making any contact with the bodywork. I layed down a nice thick layer of snow foam and left it to dwell for several minutes. Using a Hog Hair brush i gently agitated the snow foam in some places where small amounts of dirt had gathered to ensure they were removed then rinsed the car down. Tackling the wheels first Car Pro Iron X was applied to remove Fallout, rinsed off then reapplied for thorough cleaning with a variety of brushes. After completing each wheel the wheel arches were cleaned and degreased with Auto Finesse Verso. 

Wheels and arches now better than new it was time to move onto the other fiddly spots, engine bay, door shuts and around the sun roof. Using a variety of products, techniques and tools I spent some time removing dirt form transit, glue from the factory that had run out of panel creases and parts and small spots of grease that had flicked around the engine bay. Panel glue was also removed from the door shuts and the bottom folds of the doors. Extremely un-sightly it still baffles me how the dealerships feel its acceptable to leave the glue visible. After around 2 Hours i was finally satisfied that all the arches, wheels, engine bay and shuts were now clean I laid down another layer of snow foam to ensure I had removed as much of the loose dirt and grime as possible. Onto the washing stages, the all important two bucket method was used throughout the vehicle to safely clean the exterior. This was then rinsed, Fallout remover applied and then rinsed and clayed using a clay mitt. The car was then rinsed again and ready to be dried. The decontamination stages are one of the most essential on a new car, theres often a misconception that just because its a new car and that it hasn't been driven it won't have gathered an contaminants, this couldn't be further from the truth!

Dried safely with Auto Finesse Aqua Deluxe towels and Metro Vac Blaster the car was ready to be taped up and inspected. All plastics, rubbers and delicate trims were taped prior to polishing to prevent them being damaged during the polishing stages. Paint depth readings were taken and the lights were switched on. After inspecting the whole car I was pleased to report that there were no major defects whatsoever just a small build up of swirls and light marring. Having done some research and worked on several BMW's of late I had a good idea of the best combo that would work most effectively but as we all know every car is different so I tried a few first before settling for my combo of choice that safely and effectively removed the swirls. I spent in total around 12 Hours polishing to ensure that every defect was removed. Perhaps a little more time than was needed but i felt it necessary to ensure the car was faultless. 

Once the polishing stages were completed, I untaped and wiped down the bodywork with Car Pro Eraser to remove all traces of polishing oils any other chemicals left over that could react with the coatings. The glass was cleaned, exhaust tips polished and any surfaces being coated were prepared for the coatings. Moving onto the coatings Car Pro C-Quartz UK for the paint, G-Techniq G1 and G2 for the glass and G-Techniq C1 Alloy Wheel Armour for the wheels. All coatings were layered twice to ensure optimum protection and left to cure in appropriate temperatures for 24 Hours to ensure the coatings had correctly bonded. Once the exterior was finished I dressed the engine bay with Aerospace 303 Sealant and moved onto the interior.

The interior is just as important as the exterior and my new car protection detail ensures all interior surfaces receive the same level of protection as the exterior. I opted for G-Techniq L1 for the leather and G-Techniq l1 Smart Fabric for the matts and carpet. I hoovered the interior first to remove loose dirt, then moved onto cleaning the leather. Cream leather is by far the best colour leather in my opinion but it can be an absolute nightmare to keep clean! There was already some dye transfer on the drivers seat so I worked my way around the leather with Dr Leather Leather Cleaner to deep clean the pores of the leather and remove any traces of dye transfer prior to the application of L1. L1 will prevent further discolouration and dye transfer to the leather during its lifespan. Matts were then removed and l1 Fabric was liberally applied to protect the matts and carpets meaning that liquids will now sit on the surface of the fabric and not saturate it. 

After hours of meticulous detailing the car was complete, the lights were turned off and the car was moved outside for photos and final inspection ready for handover. I thoroughly enjoyed this Detail, the clients were extremely hospitable and friendly and the car was an absolute pleasure to work on. Being an enthusiast himself the owner wanted some advice on how to care for the coatings and best procedures for safe washing. After giving guidance on procedures and products the handover was complete and another new car was looking as it should have two days earlier when leaving the dealership!

Audi RS3

Bespoke Detail

Audi RS3's are another understated Audi and you dont see enough of them on the road. Mainly due to their hefty price tag but if you have an open budget for an incredible hot hatch these should be a strong contender. This is the first opportunity I've had to get up close and personal with one and I must say I am extremely impressed. Audi have managed to pack not only an incredible engine into these but a heck of a lot of technology. 

This Audi underwent a bespoke detail here at Detail Driven. It received a standard Protection detail with a few additional extras at the owners request. You dont have to opt for the standard levels of Detail that I offer, If you have something in mind get in touch and ill do what i can to fulfill you request.

White cars can be just as bad as black to look after and the main reason is Tar. This RS3 was no different and upon arrival the wheels and lower bodywork were displaying the usual caking of tar you find on white high performance cars. You will never stop tar spots however you can make life easier by staying on top of it. The longer you leave it, the more it builds up and the firmer they stick so its best to stay on top of it. 

Anyway, After two coats of G-Techniq C2v3 Which gives a great gloss on white cars this RS3 should be much easier for the owner to maintain and certainly looked much better for having some Detail Driven TLC. If your interested in a bespoke detail to suit your own requirements or choice of products please get in touch and ill be more than happy to discuss! Ill let the photos do the talking...