Car Pro

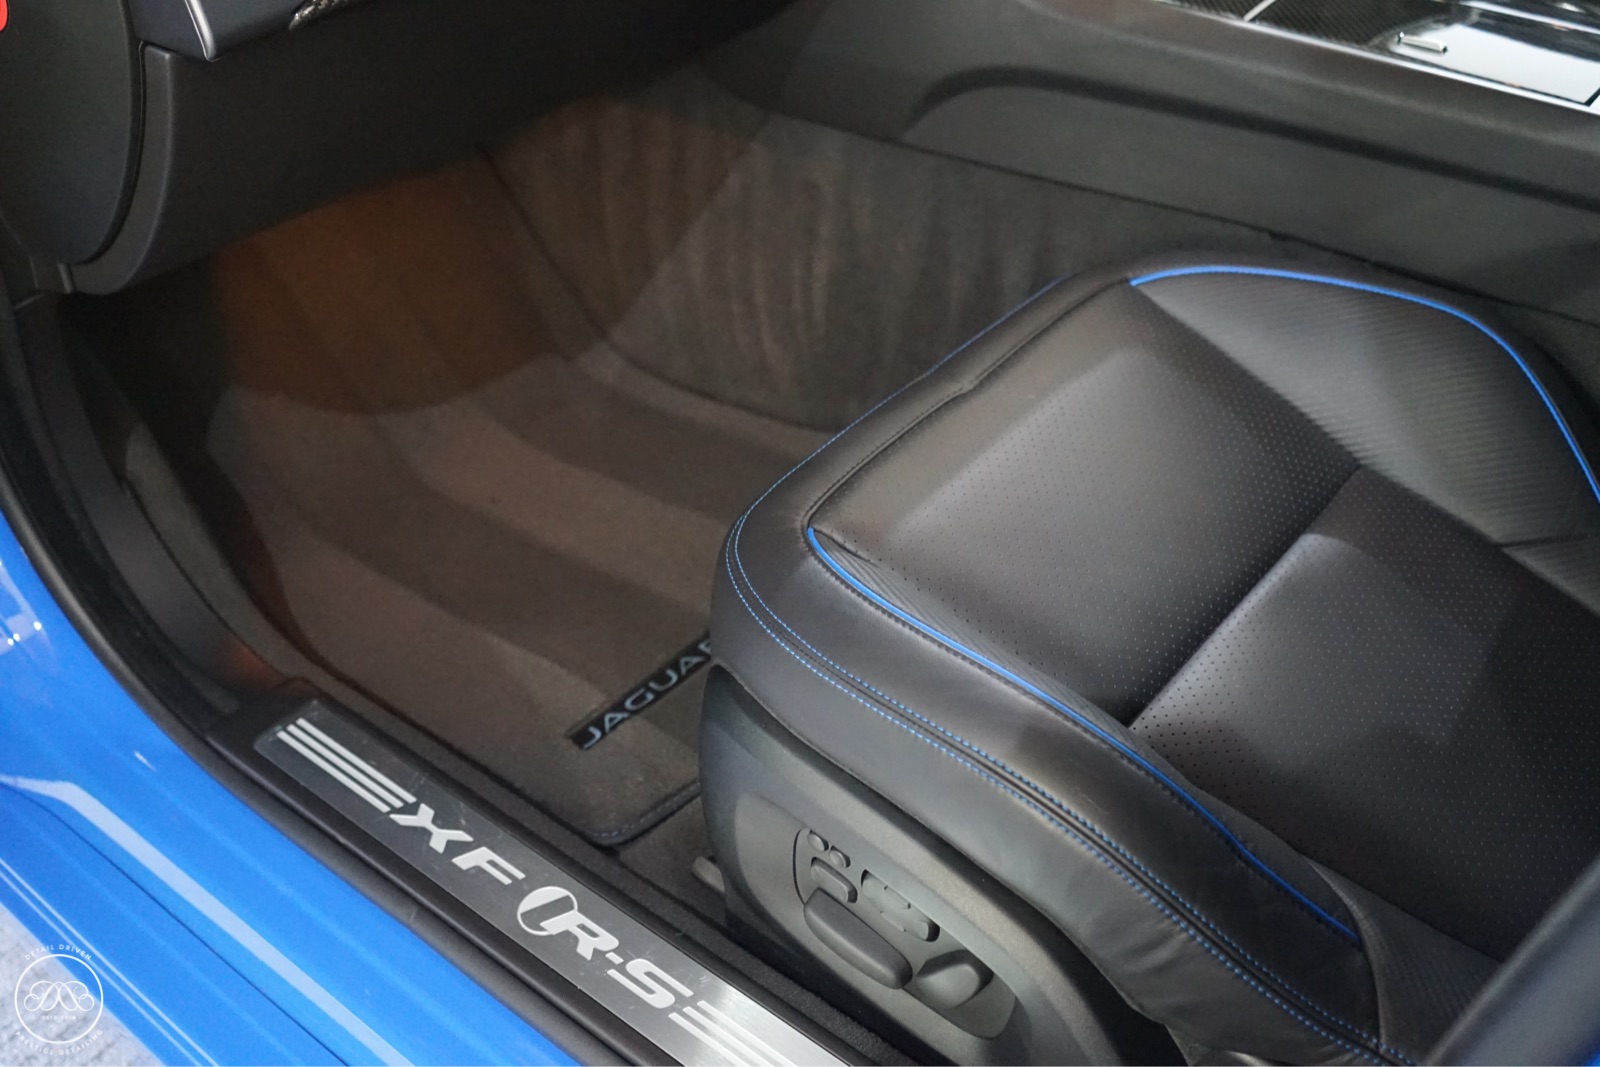
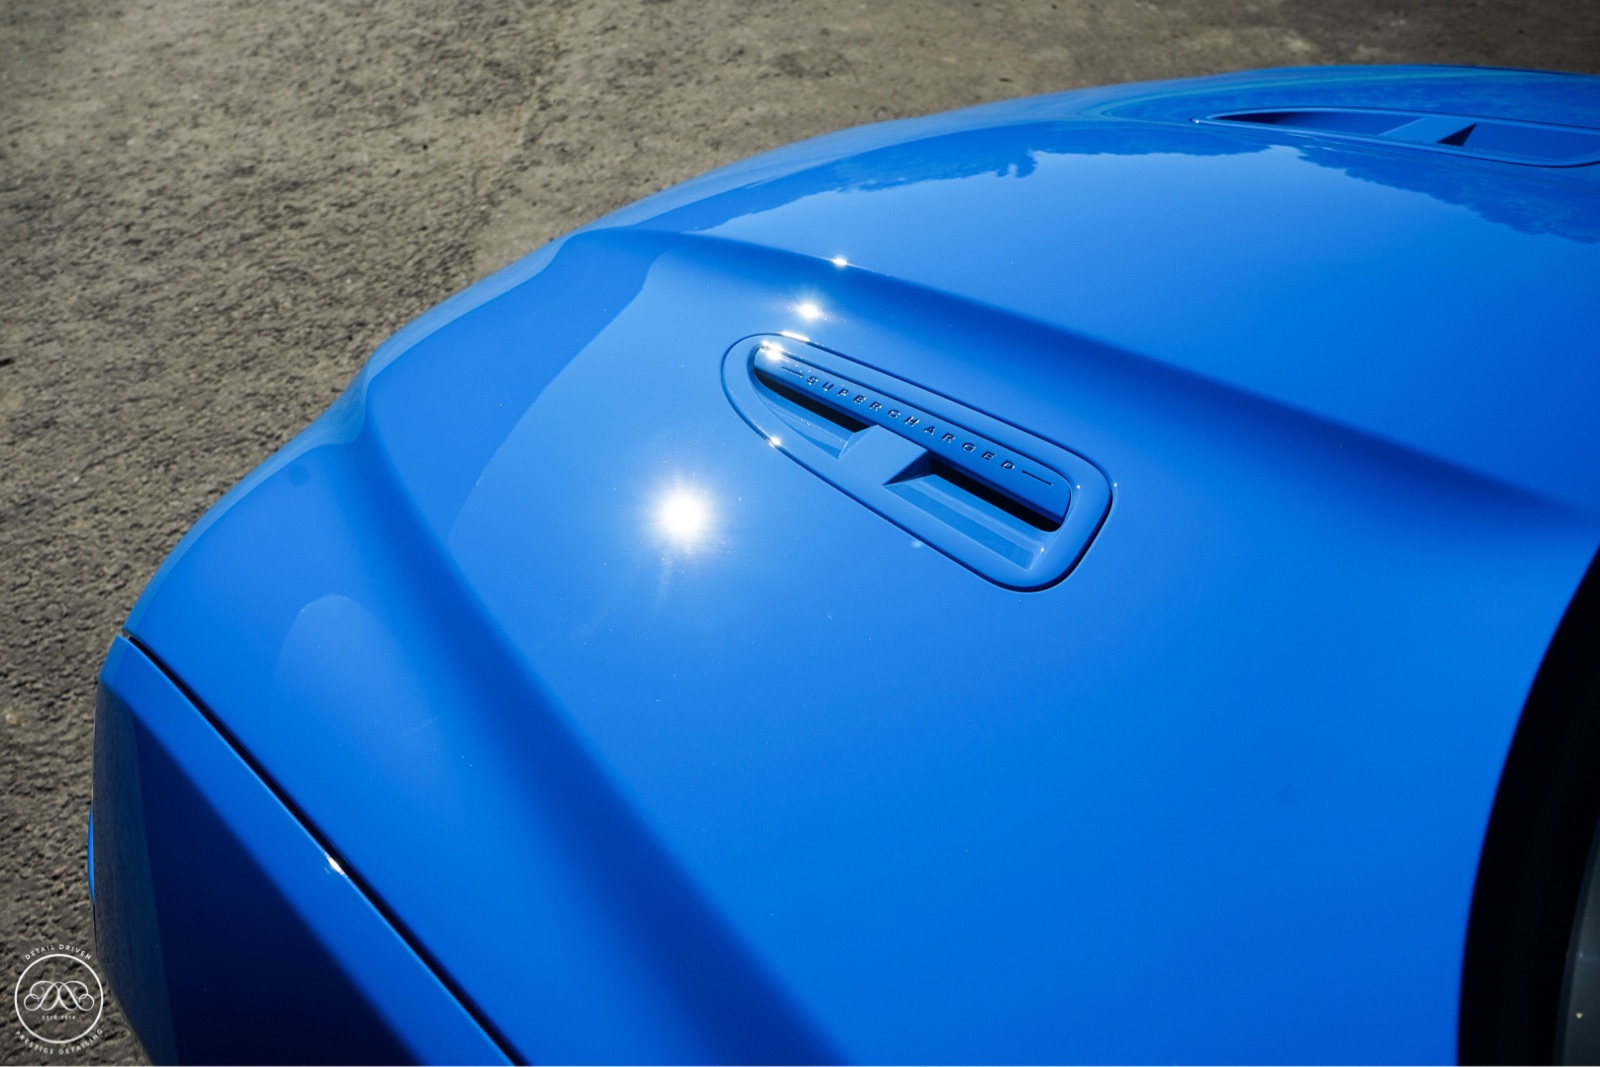
Jaguar XF-RS

Multi Stage Correction

When the enquiry came through for a Single Stage machine polish on a 911 the last thing I expected to arrive was a French Racing Blue Jaguar XF-RS. In the short time between arranging the initial inspection and bringing the car to see me the client had sold the Porsche and replaced it for this rather shouty V8 Powerhouse.

During it's initial inspection it was quickly evident the bodywork and exterior in general had been through a lot and it was going to take some serious work to get it up to scratch. A solid pastel blue French Racing Blue is an individual colour rarely found on many other Jaguars. 14 weeks later the car arrived onsite and I was relishing at the opportunity to transform such an iconic car for Jaguar.

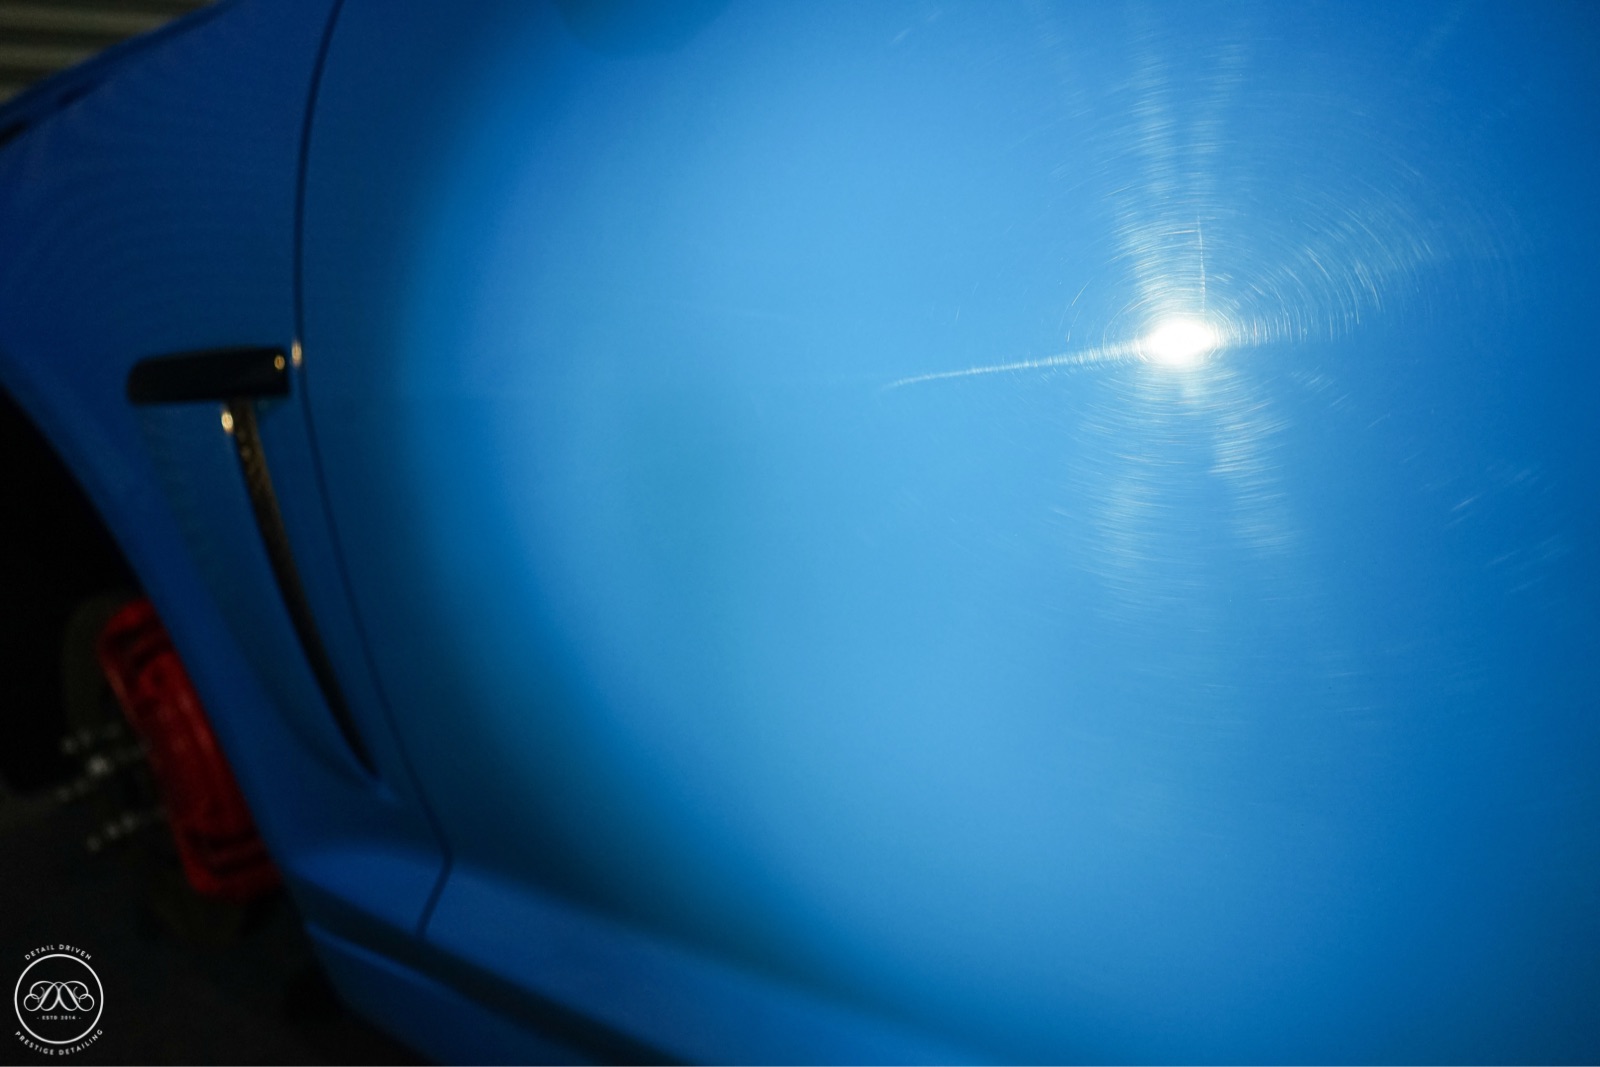
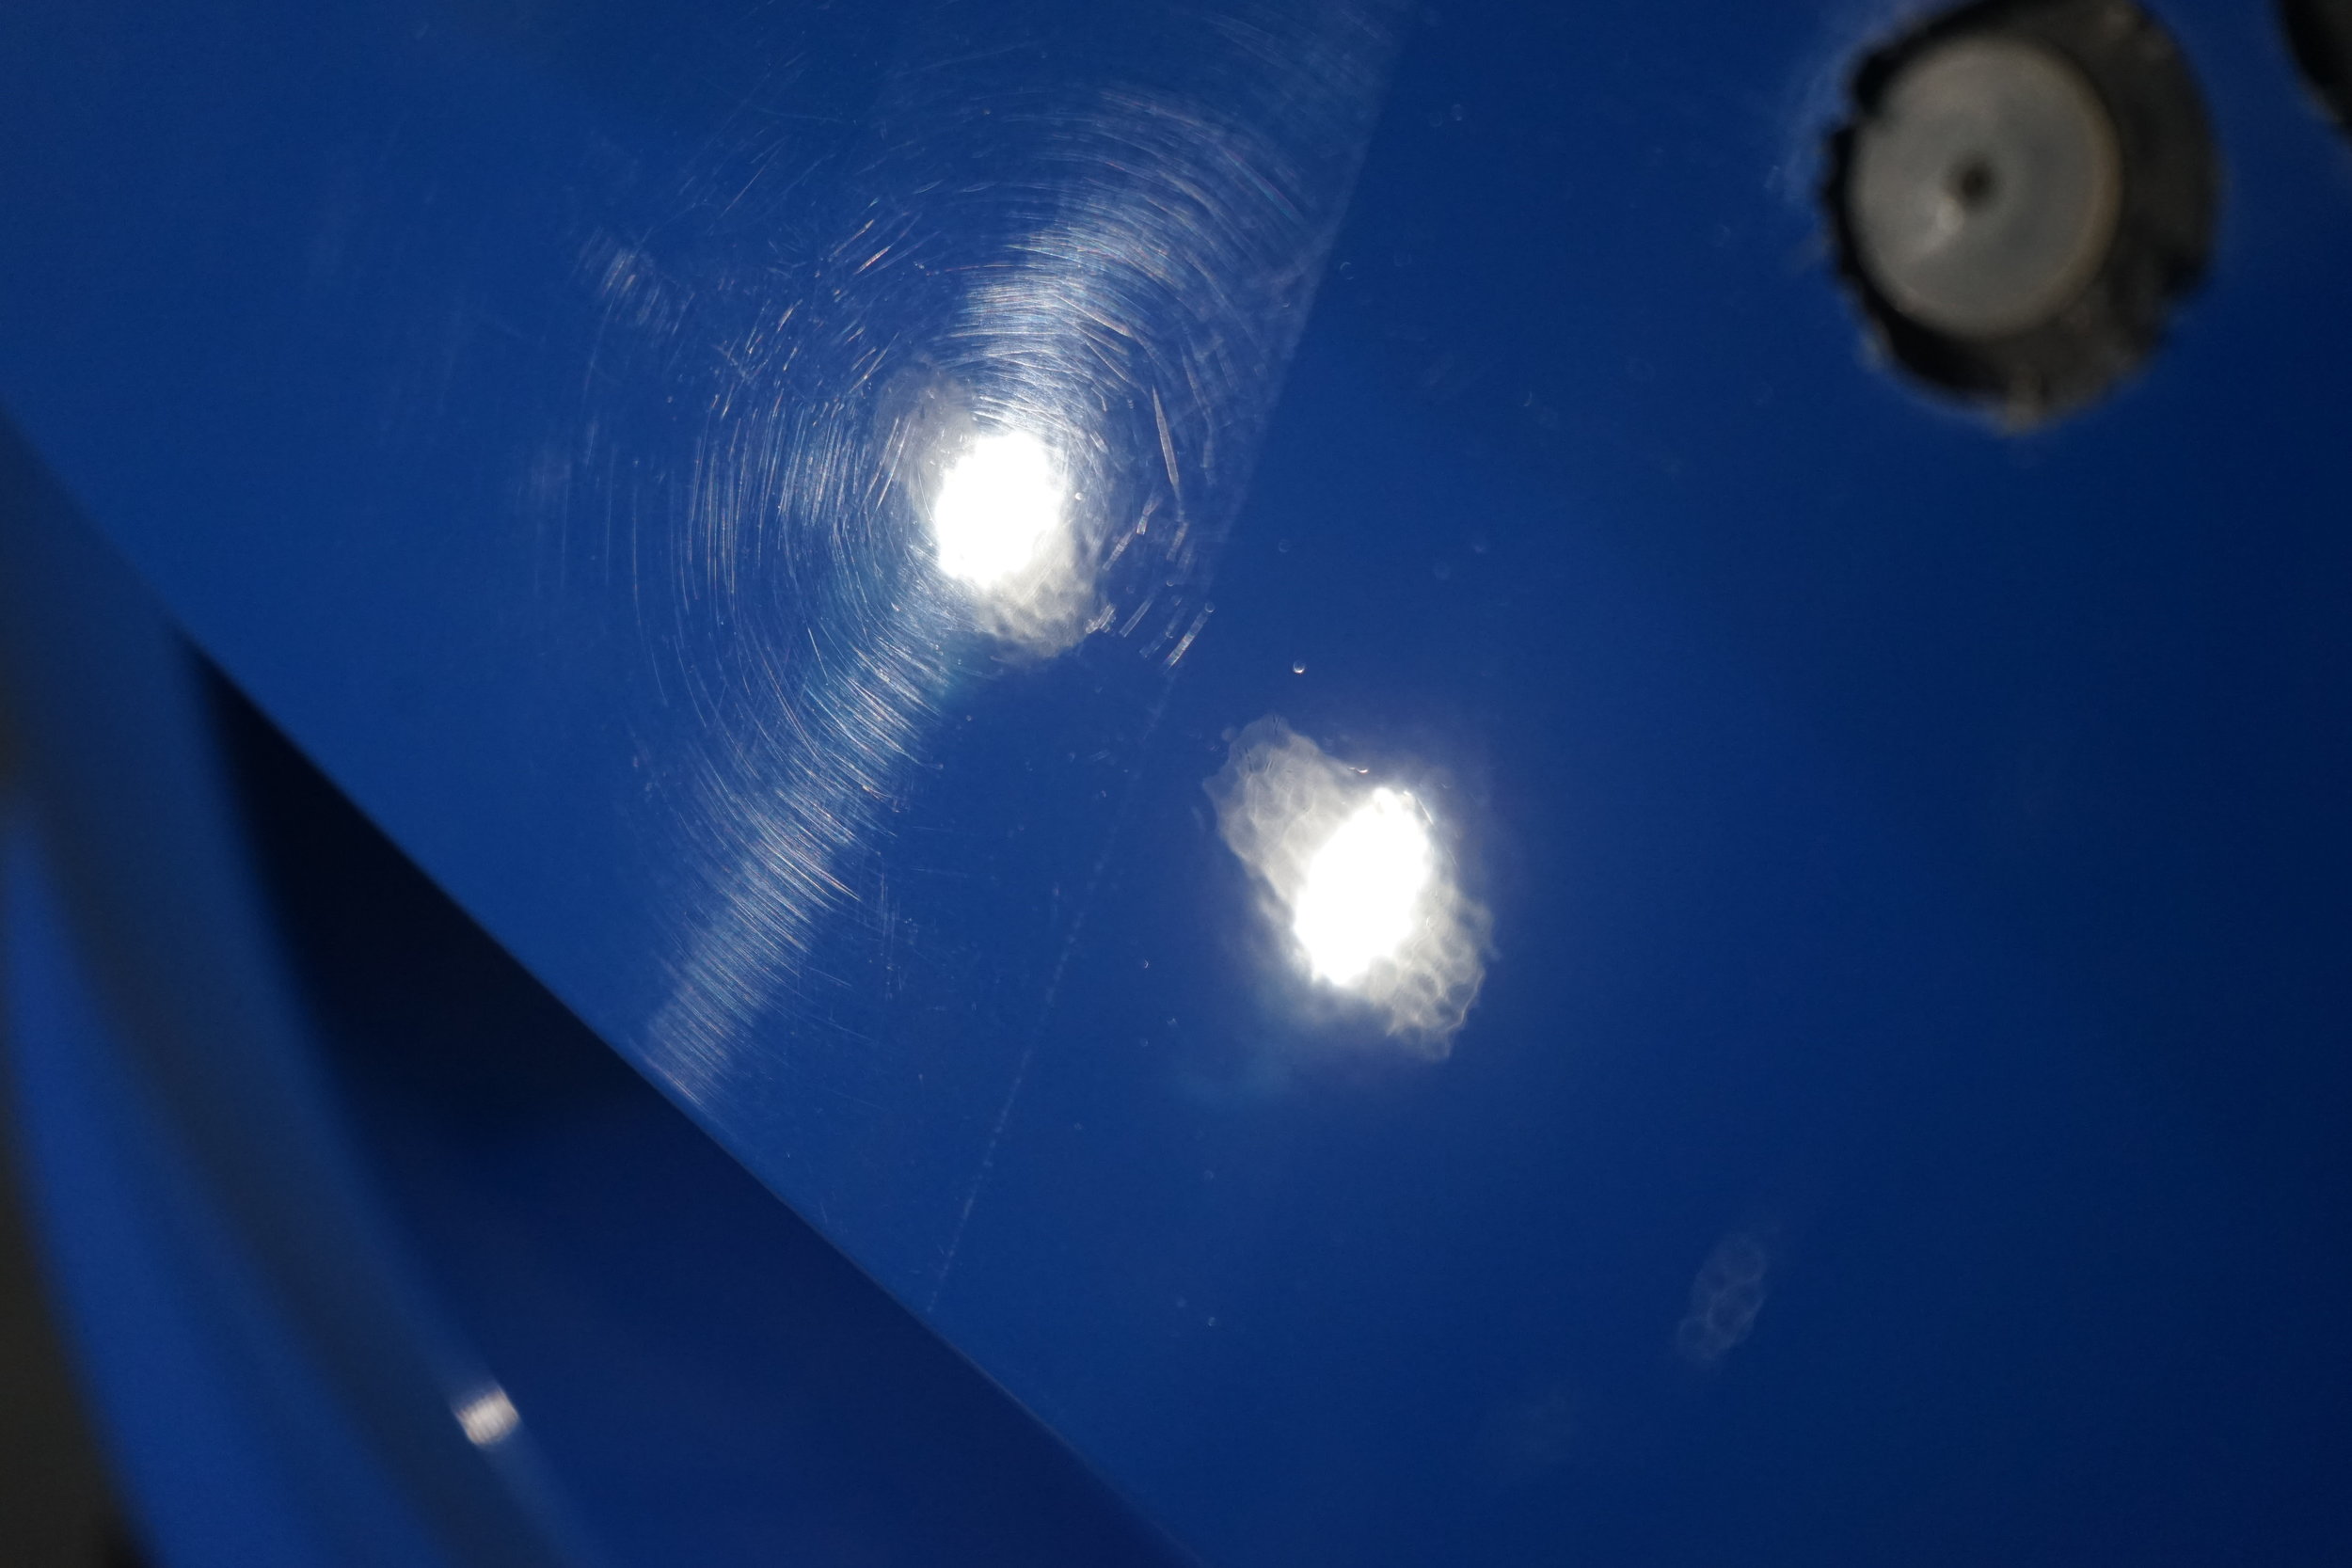
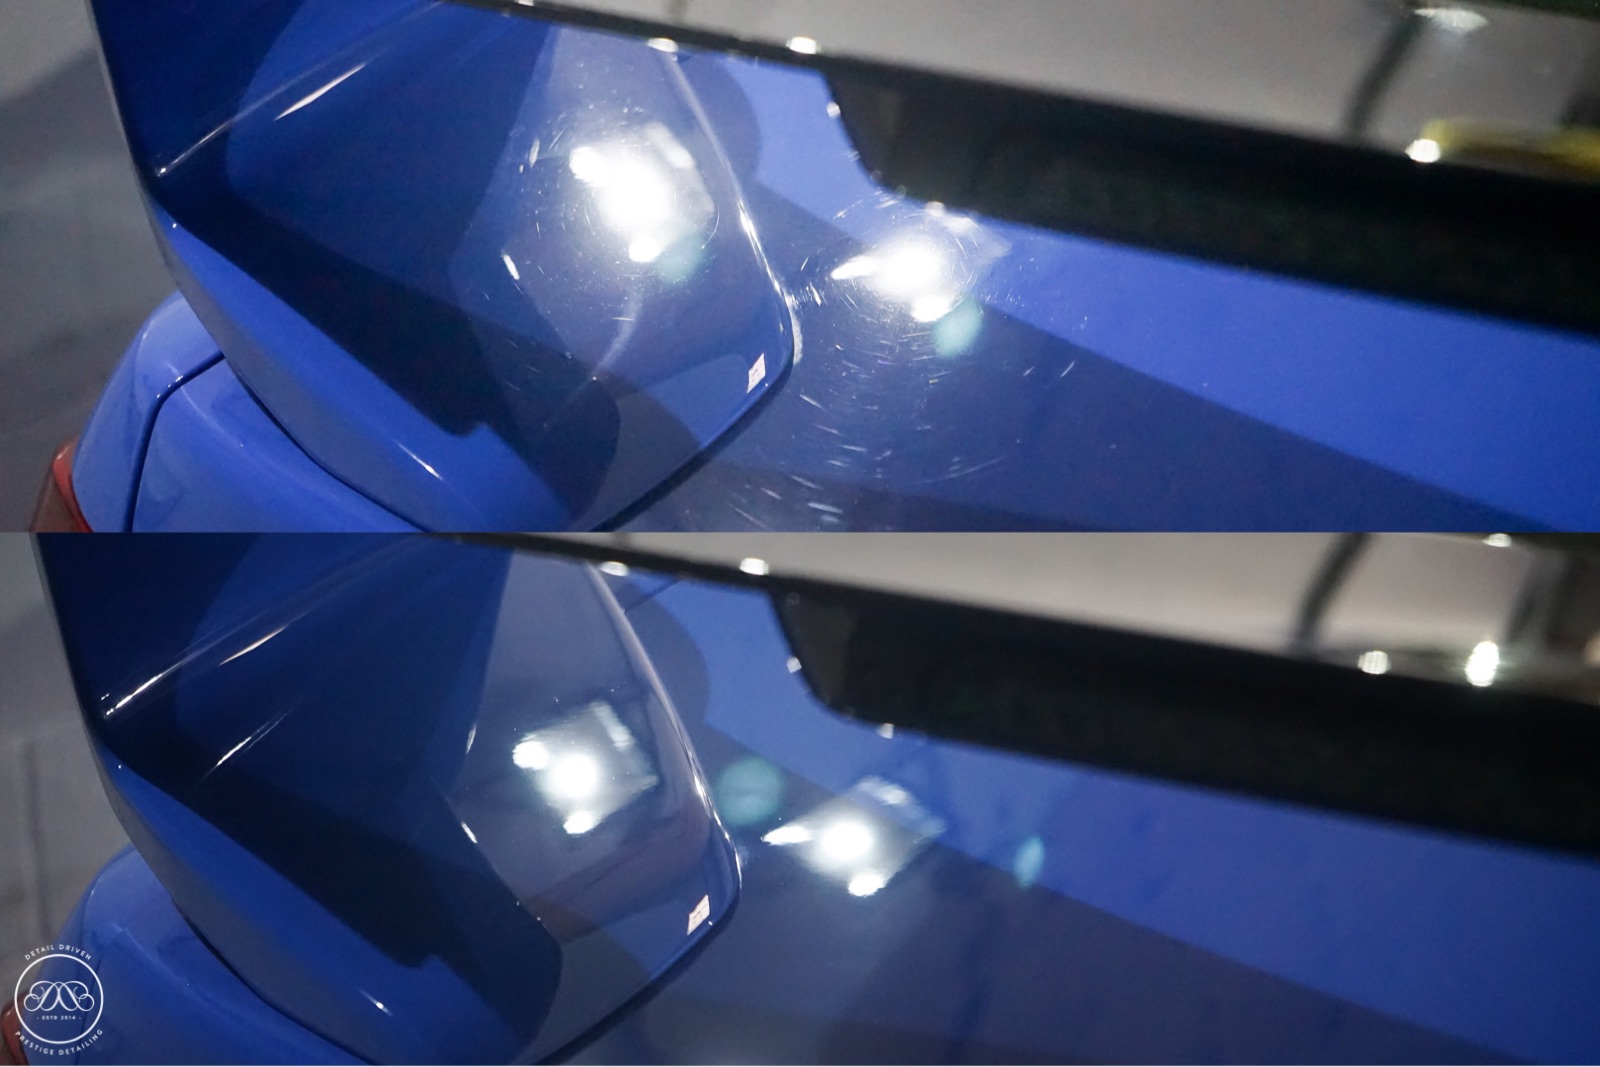
The RS received the usual treatment outside a thorough decontamination and deep clean prior to the commencement of any machine work. These stages always reveal the true story behind every car and the true level of the task ahead. Booked for a multi stage correction detail I knew I had my work cut out but I wasn't prepared for some of the discoveries I made with the bodywork and wheels. Once inside the car was raised up and the wheels removed. Once I had the wheels off I was able to see the the terrible state they were in, neither me or the client were expecting me to find the nasty smart repairs on the wheels or the heaps of overspray in the barrels so after short discussions with my Wheel guy and the client all four wheels were sent off for full refurbishment while the car was with me. The discoveries didn't end there, the nearside had seen its fair share of repairs, the worst being the rear quarter which left a lot to be desired for.   After completing the full initial assessment, depth readings and inspection delicate surfaces were taped and the initial cutting stage of machine polishing commenced.

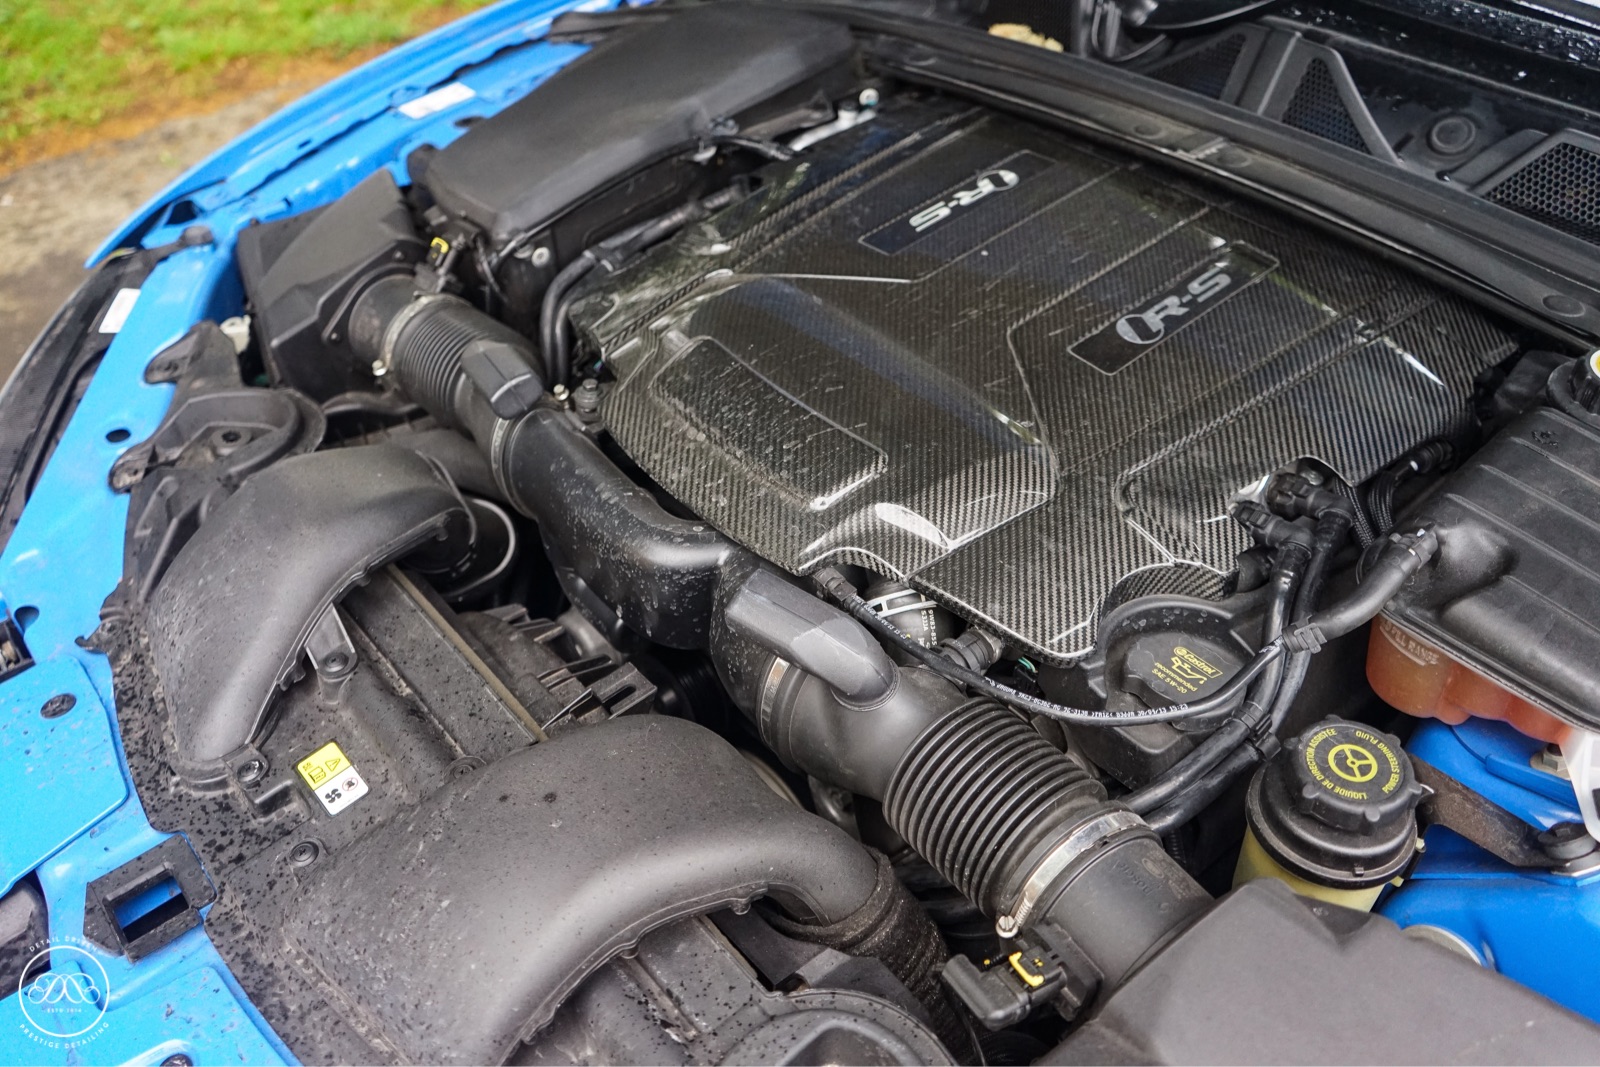
In total I spent nearly three days cutting, being a solid paint French Racing blue was a super super soft paint to work with so patience was key. Go in too heavy and the paint micro marred, go in too light and I'd have been there all year. It was about finding a happy medium but the result of that is extended cutting stages as you can't go in with anything too agressive. The upside to this is that very little refining is required as I took my time with cutting very few defects were inflicted by the initial stage. The cutting stages were followed by a refining and finishing stage in order to ensure the striking blue was finished to the highest possible level adding a deep rich gloss and a very sharp crisp finish. In total I spent five long days cutting and refining the paintwork in order to reach a finish I deemed more than acceptable. Door shuts, boot shuts and the engine bay all received some level of polishing to ensure the highest possible finish throughout the vehicle. With final wipe down complete the first stage of coatings got underway with the base layer of GTechniq CS Light applied and left to cure overnight before returning in the morning to apply the top layer of Gtechniq EXO v3. At this point the wheels returned and the coating of the glass and wheels were complete and the end was finally in sight. I tend to spend in the region of a day completing all the final touches once all the coatings are applied. This allows me to work around the vehicle meticulously dressing the engine bay, polishing exhausts, dressing arches and tyres and chasing the level of perfection I pursue.

On the final day the wheels were returned and coated. The wheels unfortunately had seen an extremely hard life. Upon removal the faces had seen multiple cheap smart repairs and at some point some full refurbishments where they had taken the life out of the wheel. Diamond cut wheels are a challenge when it comes to refurbishment if you don't know what your doing, they are extremely easy to mess up and these wheels are prime examples of wheels that have been poorly refurbished time after time. The result of this was that they were not perfect when they returned. The reason being is because so much had been taken from the face of the wheels during previous refurbishments that my wheel guy had very little alloy left to work with making it extremely difficult to get the perfect finish with clean lines between the contrasting diamond cut and black. The client was kept informed throughout and both myself and my wheel guy did all that we could to ensure he was satisfied with the end result but it goes to show you really don't know what your buying until it's in the hands of a professional.

This detail was a challenge from start to finish. I enjoyed every minute of it and in some areas it was a learning curve but I take positives from that and it only makes me a better detailer. The outcome was stunning and was the result of over 100 hours detailing. This doesn't come cheap but when your looking for the level of finish I achieved with the additional touches of wheels and coatings you would be a fool to pay an amateur.

Thats enough of my waffle and time to let the photos do the talking...


CD59F2EC-89C9-48CD-B239-E87786F29A53.JPG
17BB1B85-0026-4527-A027-28BEE00DF63C.JPG
FDF71972-CE56-4069-AA0C-1DF89467663E.JPG
0916DA3E-8AC2-4E02-91B0-E2496DD5A91E.JPG
5B202048-5E74-4FA9-B840-3F9EA1D99D03.JPG
006109FB-208A-44DC-B6EE-B9848467377B.JPG
BE62B950-C886-4610-9AAB-4351B2BD3B4A.JPG
D8C75443-B72C-4FB7-A97F-5DD3924A1759.JPG
3E89D021-4C9A-4711-A6D4-008FEA8BA8AB.JPG
2F383698-6DCC-4142-BEBF-5ECCAEE173A4.JPG
6560DF6E-9BBF-4C46-8F3B-9DDE02DD0005.JPG
EA754BF5-5FCE-4CC8-9A3C-876019585280.JPG
F24871EB-EFC2-4FA4-8970-52184105195B.JPG
92177B2A-7036-43E5-A895-5C3C7D93A166.JPG
53AF0687-639A-457D-A06F-DC348F96AECC.JPG
4D9EAC2D-C610-4827-91EF-F70CD439A975.JPG
0D7DDD9D-C441-461F-B16C-19E15B6F4980.JPG
418A498D-EAD1-4993-866F-B6698F7ADE19.JPG
EA6756CE-B2CE-480F-B314-ADCDFC8D1E05.JPG
589F9768-CFF8-491B-91E5-9AEAE60396A4.JPG
DB304894-4302-4B51-B8EE-659746E32C7D.JPG
28468454-9ADF-4021-B6BA-6B48672D64CC.JPG
C29FB96D-8A89-4CAA-9133-64ABB1B288C0.JPG
46BFF4A4-2040-48AD-AA04-1895E5F799D8.JPG
51419920-5483-4E43-9768-8012C9B748A7.JPG
85E6D222-8B49-4DFF-A19E-0C0730D888D5.JPG
110D459F-B363-479E-80F6-BF82C93CD76E.JPG
BE4ED795-683D-4D09-B1F6-5EE0C66B5698.JPG
DD7E11BD-ACAE-4168-B056-C417491A267B.JPG
B0D20FFD-B1AC-4610-ABA4-08006BF2A53E.JPG
A944677F-CFC7-4DB7-967C-1CE514C256A4.JPG
B13E68D5-41A4-4EB2-97FC-48C326BD57FD.JPG
C6794BA1-D9C7-4AAF-9FC0-F7E9F68D6C98.JPG

Audi RS6

Enhancement Detail - Ceramic Bolt On

An Audi RS6 is a truly versatile car and this was a true example of what they can do. On one hand an absolute powerhouse ready to be driven hard, on the other hand a great family car. This one clearly is used for both and in the last few months had been down to Italy and back and hadn't seen a soap sud in over 3,000 miles. It was long overdue a good clean and the owner was keen to have it looking its best again.

The owner got in contact primarily to book the car in for Ceramic coatings, after some discussion and a little education we discussed and explained why the car would benefit from an enhancement detail prior to the application of coatings and the customer agreed. Upon arrival it was clear why the owner was so keen to have the car done. 3,000 miles and all four seasons of dirt - This RS6 certainly needed some TLC and I was just the man for the job. 

Starting with the all important snow foam, nice an thick to drag off as much of the surface dirt and grime as possible. While it was dwelling I went round the creases and cracks with a Hog hair brush to agitate the snow foam into the sitting dirt and lift months of grime. After a few minutes dwelling the car was rinsed down and I moved onto the wheels. Oh the joys of ceramic brakes! Now a note to all owners with ceramic brakes, you have to be extremely careful with what products you use and if you have any questions please get in touch and ill be happy to advise but its strongly advised that you dont use normal wheel cleaners! Wheels deep cleaned I moved not the arches and slowly worked my way around the car. Once the wheels, arches and shuts had been deep cleaned and degreased I moved onto the engine bay and did the same here. After about two hours meticulously cleaning and degreasing the grubby parts the car was rinsed down again and ready to be washed. 

The all important two bucket method was used with grit guards in place and a nice soft lambswool wash mitt. I worked my way around the car starting from the top carefully removing months of dirt, salt and grime to reveal that stunning Midnight Blue Metallic Paint. Once safely washed the car was rinsed again and I liberally applied a later of Car Pro Iron X to remove Iron fall out and other contaminants. Left to dwell and rinsed the car was then dried for application of tar remover. Once the TFR stages were complete the car was clayed with a clay mitt and then safely dried with a variety of towels and a Metro Vac Master Blaster.

Now the car was ready to be taped up and inspected. All plastics, rubbers and delicate trims were taped prior to polishing to prevent them being damaged during the polishing stages. Paint depth readings were taken and the lights were switched on. The owner was fully aware of the damage that Hand car washes can do so fortunately the car had never been near one, It had seen one or two dealer washes and that was about it since new which to be honest was probably a blessing in disguise as the paint really wasn't too bad. Dont get me wrong it was far from perfect but given the mileage and the fact the car was nearly a year old it could certainly have been worse. I completed a few tests with various pads and polishing combo's and found the optimum choice and began enhancing the paint to remove light swirls and defects from the paintwork. In total I spent around 15 Hours polishing meticulously lifting as many defects as I could with a single stage machine polish. Once the polishing stages were complete, tape was removed and further readings were taken. The car was then wiped down twice with Car Pro eraser, Glass polished, Exhausts Polished and all surfaces prepared for coatings. 

Car Pro C Quartz UK was the ceramic coating I had chosen to add durable, hard and extremely glossy finish to the lovely Midnight Blue paint. G-Techniq alloy wheel armour was used on the wheels and a product I've not used before for the glass, Car Pro Flybe. All coatings were layered twice to ensure optimum protection and left to cure in appropriate conditions to ensure safe bonding. 

While the coatings were curing I moved onto protecting the exhaust with G-Techniq C4, The engine bay with Aerospace 303 and completing all the finishing touches on the exterior. It was then onto a deep clean of the interior. Firstly the interior was hoovered to lift loose dirt and grime. The leather was then deep cleaned with Dr Leather Leather Cleaner and agitated into the pores of the leather with a  small leather brush. Once the leathers were cleaned they were conditioned with Auto Finesse Leather conditioner restoring a lovely fresh finish to the leather and the all important leather smell. Plastics, Rubbers and Fabrics were wiped down and cleaned and the interior was complete. 

The car was then moved out into the sun for final checks and wipe down before photos and handover. Another extremely satisfying detail, Admittedly two long days and a late finish but the end result is always worth it!

BMW F80 M3

Enhancement Detail

A BMW Man through and through I'm always happy to have one through the doors. This stunning F80 M3 was no exception. This colour is exceptional, to look at the paint looks like solid blue, however under lighting and when the sun comes out it has a stunning metallic tint to it which I couldn't wait to fully extract through the polishing stages. 

The owner had booked the car in mainly for the purposes of coatings. He knew about ceramic and glass coatings and was looking for the best possible protection from the british elements with good durability too. C-Quartz UK seemed like a great choice, always adding a silky gloss to solid colour cars I though it would suit this M3 perfectly. 

Upon arrival the car was showing signs of some neglect and good use, which dont get me wrong good use certainly isn't a bad thing. First things first was to go through all the decontamination stages prior to any paintwork work. So a nice thick layer of snow foam was applied, removing all surface dirt and contaminants. Whilst that dwelled I began working on the wheels. BMW wheels can be right nightmare if they haven't been looked after properly, Iron fallout builds up in the well that runs around the back of the wheel spokes and takes some time and dedication to remove. So after ensuring every last spec was removed from the wheels I jetted the car down and moved on. 

Time to get washing, two buckets of course with grit guards, and a good soft mitt is essential to the washing stages. A good thorough wash, she was rinsed off ready to apply TFR removers. Iron X removing the Iron Fall out and Tardis removing tar, both products make for easy decontamination in prep for clay. Now not everyones a fan of clay mitts but I must say on a newer car they are an utter time saver, this M3 hadn't seen too many months of use so out came the mitt and a good clay later she was rinsed down ready to be dried. 

Dried safely with a variety of towels and our handy little metro vac the car was taken inside and left to dry naturally to ensure that all the water ran out the cracks to make sure when we taped up the tape didn't peel back or bubble. Tape up, gloves on, machine out, STOP! Dont forget paint measurements. So step by step I walked around the car, taking measurements and recording them to ensure that every panel was machine safe, fortunately it was so lights on and I got down to business. I tried out a new single stage compound and polish to do this F80 M3 after a recommendation from a fellow detailer and I must say what a cracking product it is. The polishing went without a hitch on this lovely M3 and after around 20 Hours of polishing she was finally ready for IPA Wipe down and final inspection.

Ceramic Bolt on meant the customer had a few choices to make, he opted for Car Pro C Quartz UK for the paint, Gtechniq C5 for the Wheels and Carbon Collective Platinum for the glass. This stage must not be rushed, so several hours were spent applying various coats to the different parts of the car before leaving it to cure. Whilst curing I got on with the interior. By the time the coatings had cured, the interior was done and I had also done all the last few bits such as dressing the engine bay, polishing the exhausts and dressing the tyres. 

Two and Half days later she was finished, light swirling and a few minor defects removed by a single stage enhancement detail, followed by ceramic bolt ons to the paint glass and wheels. Lovely car, lovely finish and a pleasure to detail.